Setup HYOK for Azure
Per-Tenant Encryption PricingThe Per-Tenant Encryption feature is part of the paid Security & Data Pro add-on. Contact your Ironclad account representative for more information about purchasing this package.
See an overview of the Security & Data Pro Add-on in our Help Center
Hold Your Own Key (HYOK) with Azure
Pre-requisites
-
If you haven't already, create and activate a Managed HSM using this microsoft documentation. You will need the HSM name for key encryption.
-
Ensure that the user creating the encryption key has the "Managed HSM Crypto User" role. If you're unsure how to assign this role, refer to this documentation. This role allows you to create new keys in the managed HSM created in step 1.
Setup
-
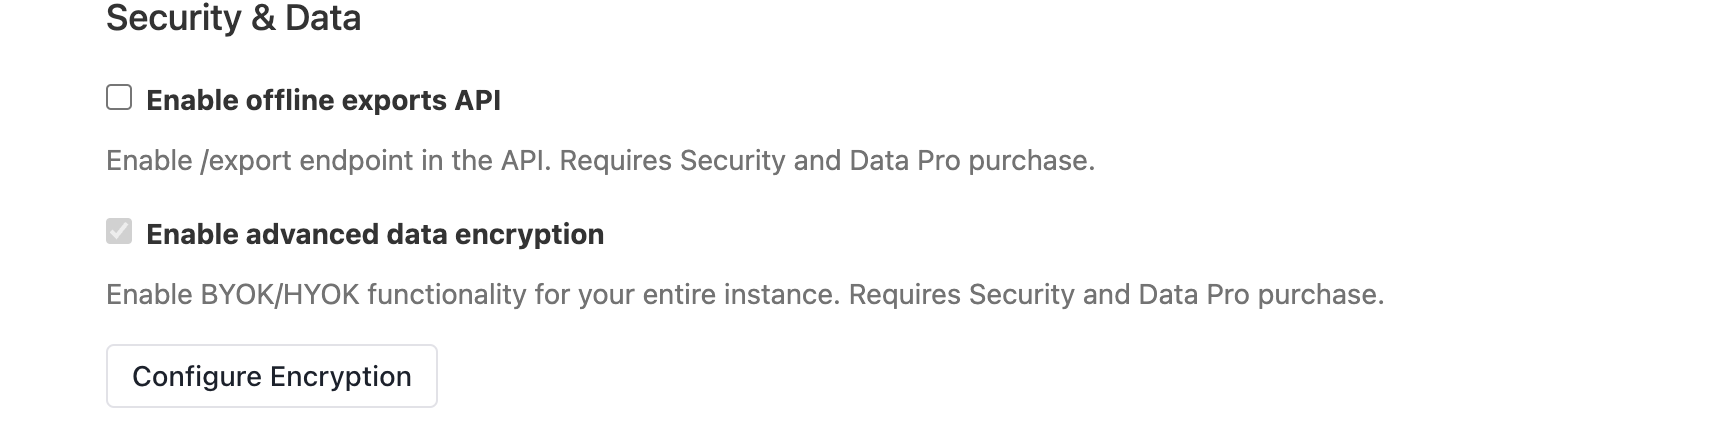
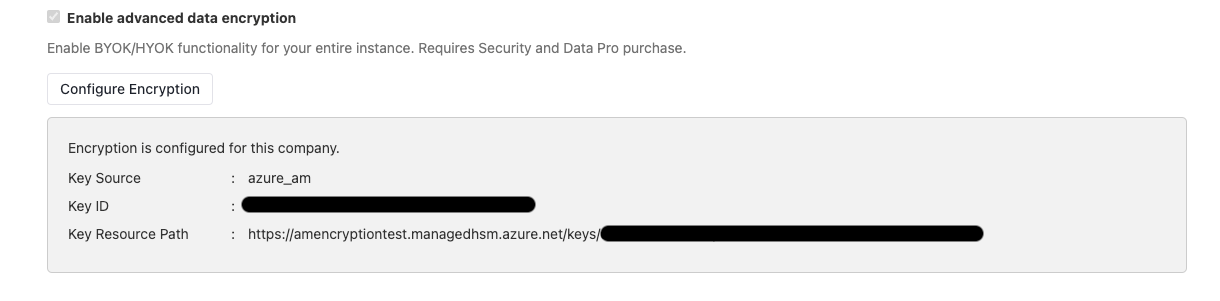
Enable advanced data encryption under company settings → settings and click on save changes button on bottom right (appears once you check box advanced data encryption)
-
Now click on
configure encryptionbutton which should take you to the following screen with three options: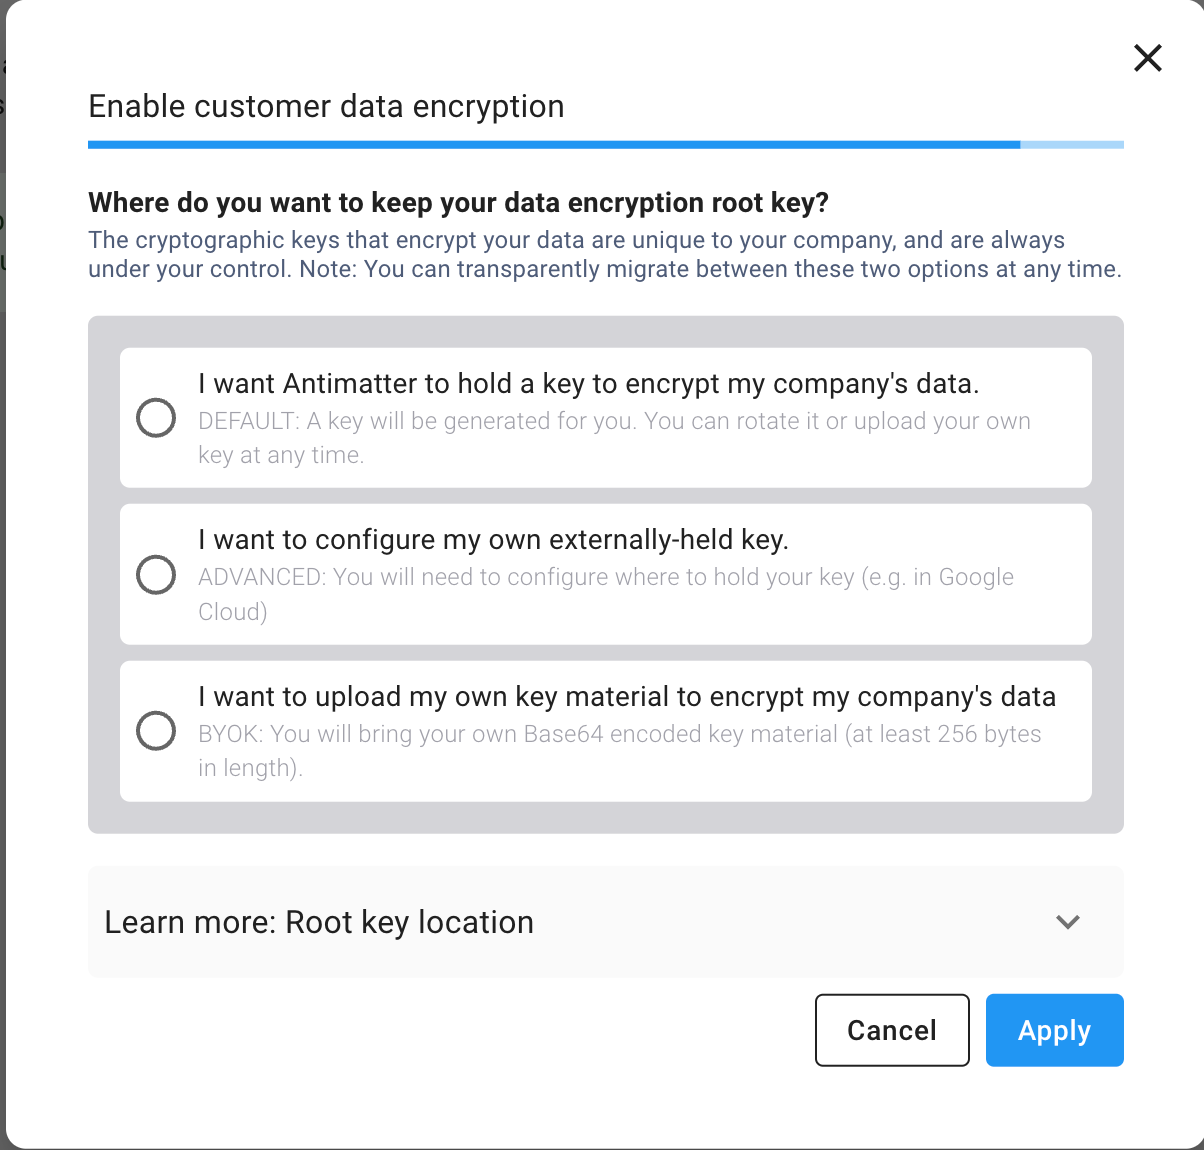
-
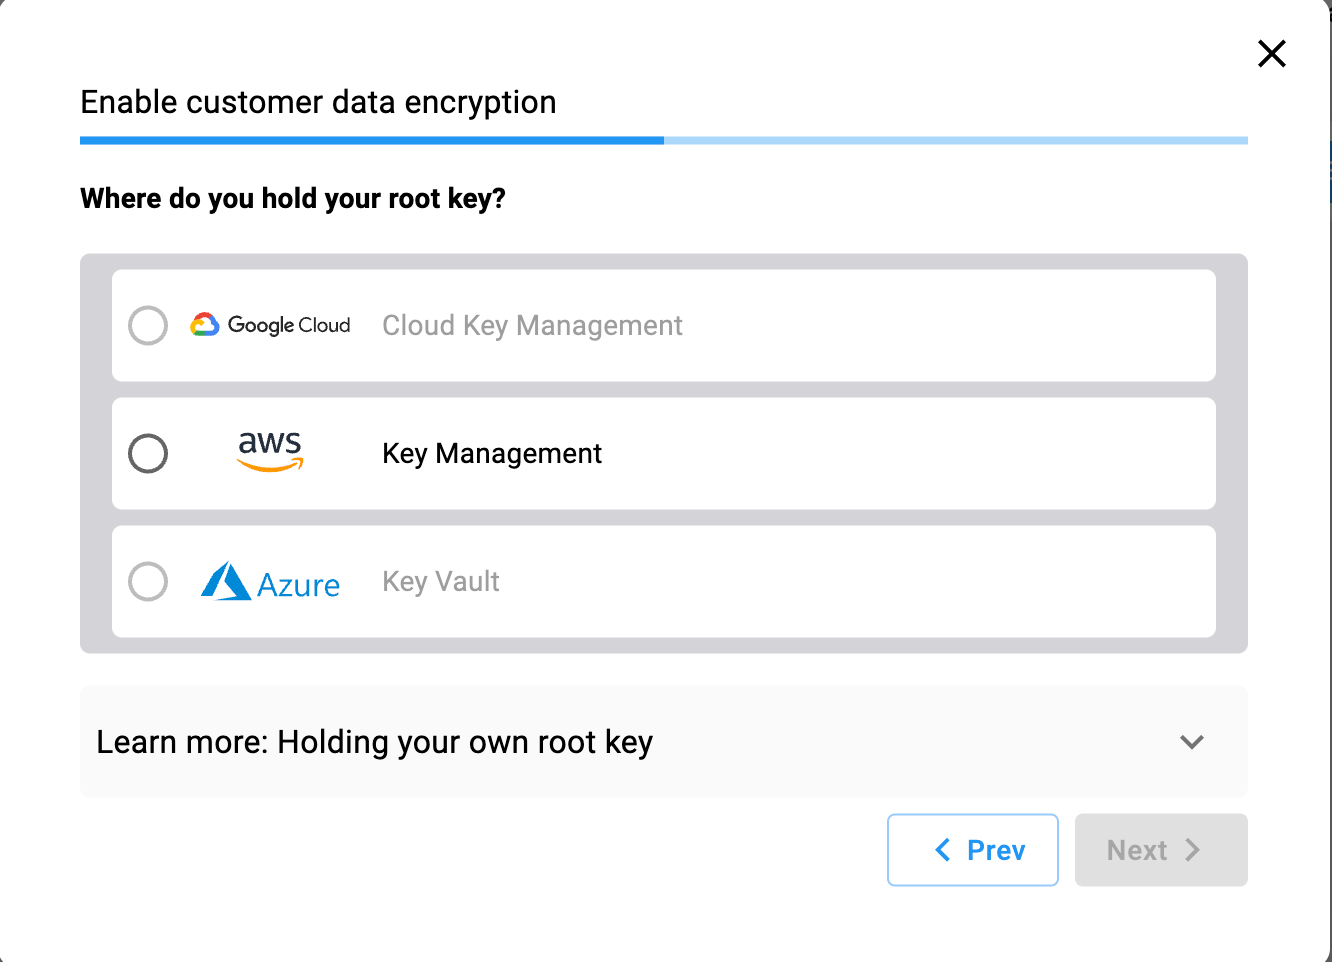
Select option b from step 2 and then click Next to select the location where your root key will be stored:
-
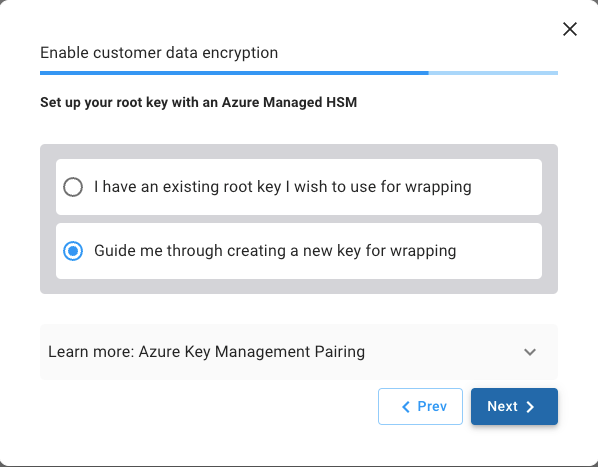
Select Azure Key Vault and then select on Guide me through creating a new key for wrapping.
-
Click Next to view and enter the HSM name you generated in prerequisite step 1, then click Generate Script to view the configuration code that you will have to run on Azure cloud shell.
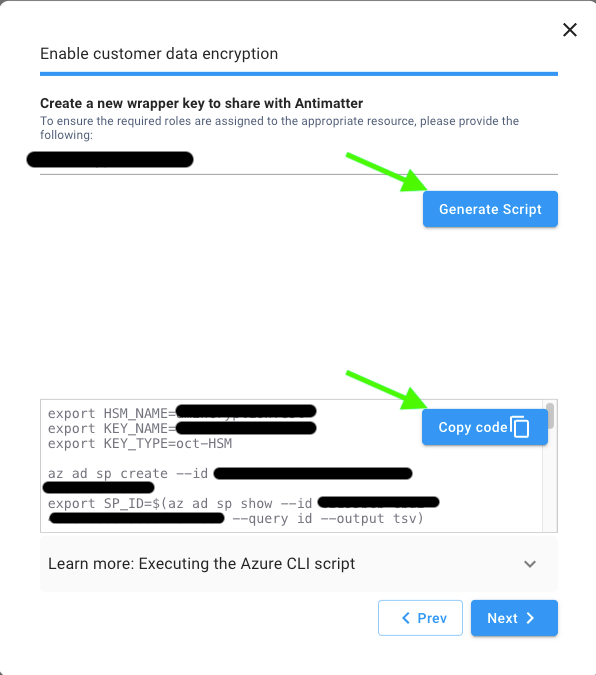
-
Copy and paste the code into the Azure Cloud Shell and run it to generate a Key URL and Tenant ID, as shown in the screenshot.

-
Copy the Key URL and Tenant ID, paste them into the onboarding page, and then apply the changes.
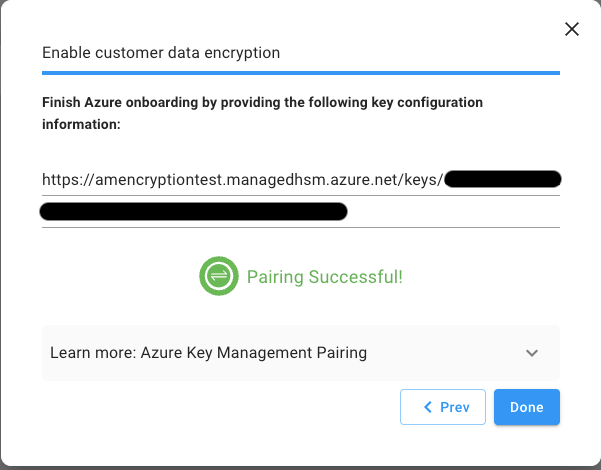
-
Once you see the pairing success message you should be all set and encryption policy is now is use.
Updated 9 days ago