MuleSoft Connector
Below are the steps outlined where you can install the connector in your local maven repository.
💡 If you haven’t downloaded Anypoint Studio prior to following along with this guide, the download page for that application can be found here
-
Download the connector configuration file
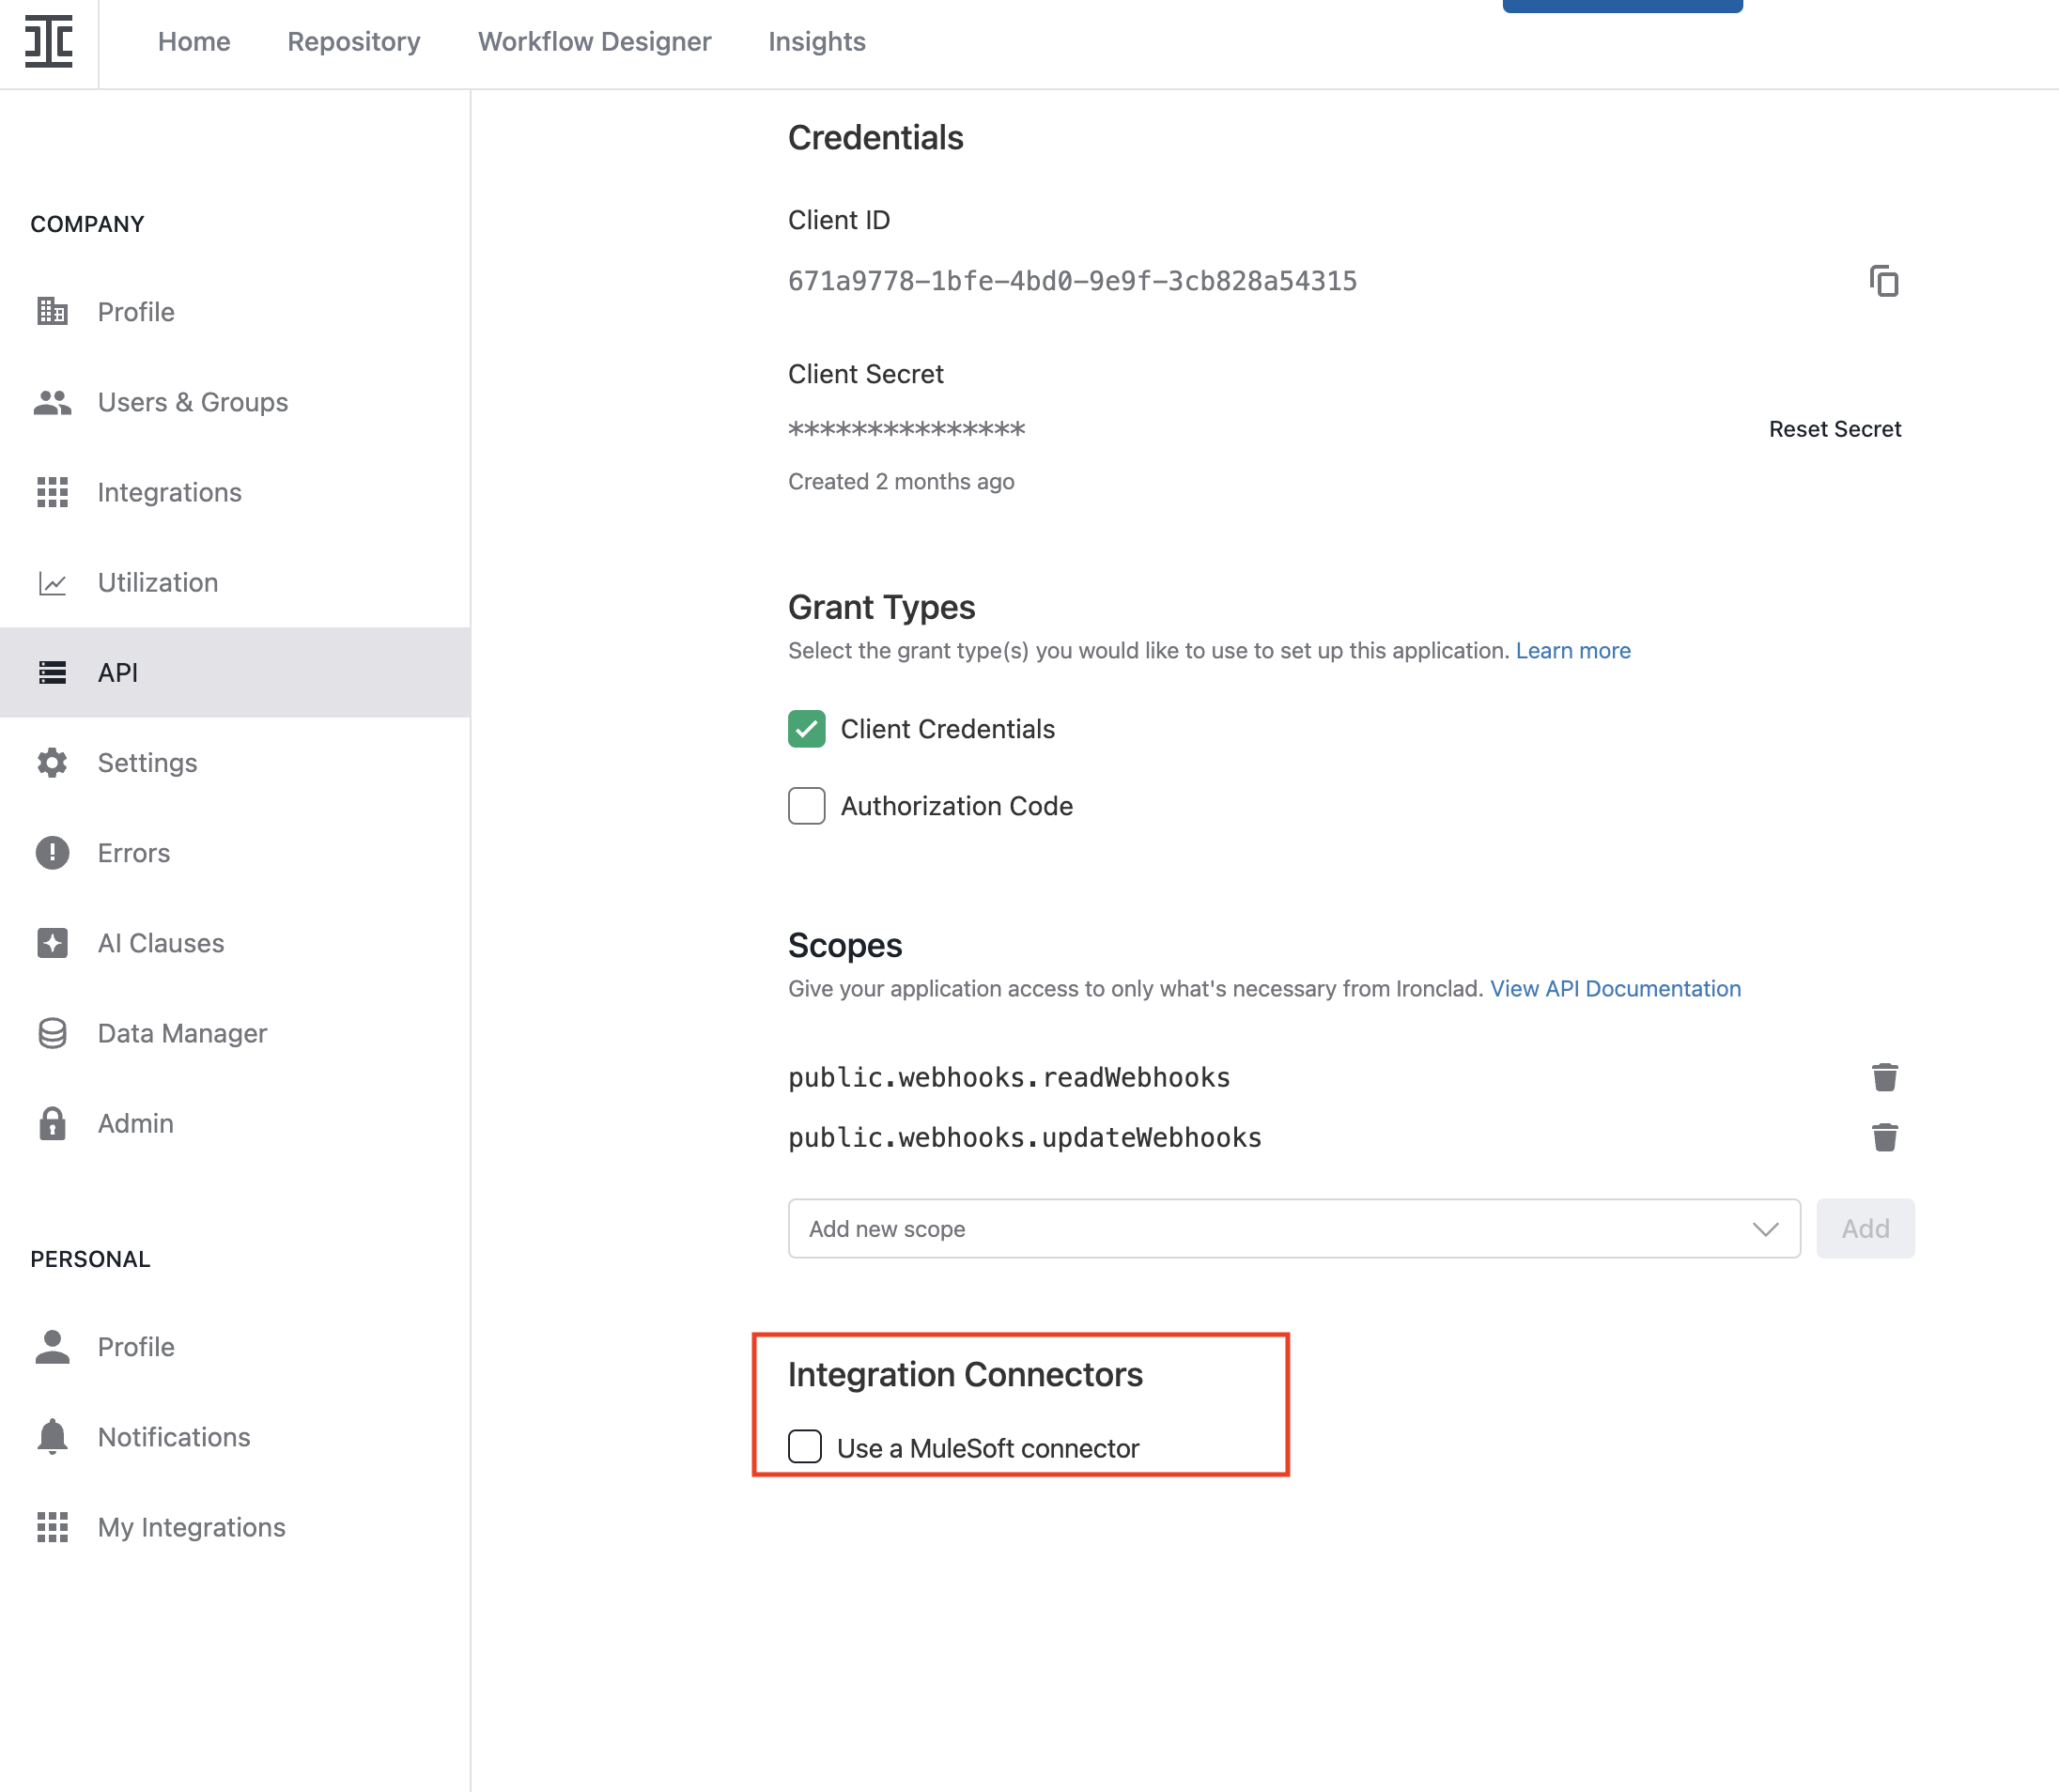
- First, if you haven't created an OAuth 2.0 client application, in Ironclad go to the Company Settings → API → Apps page and press the "Create a new app" button.
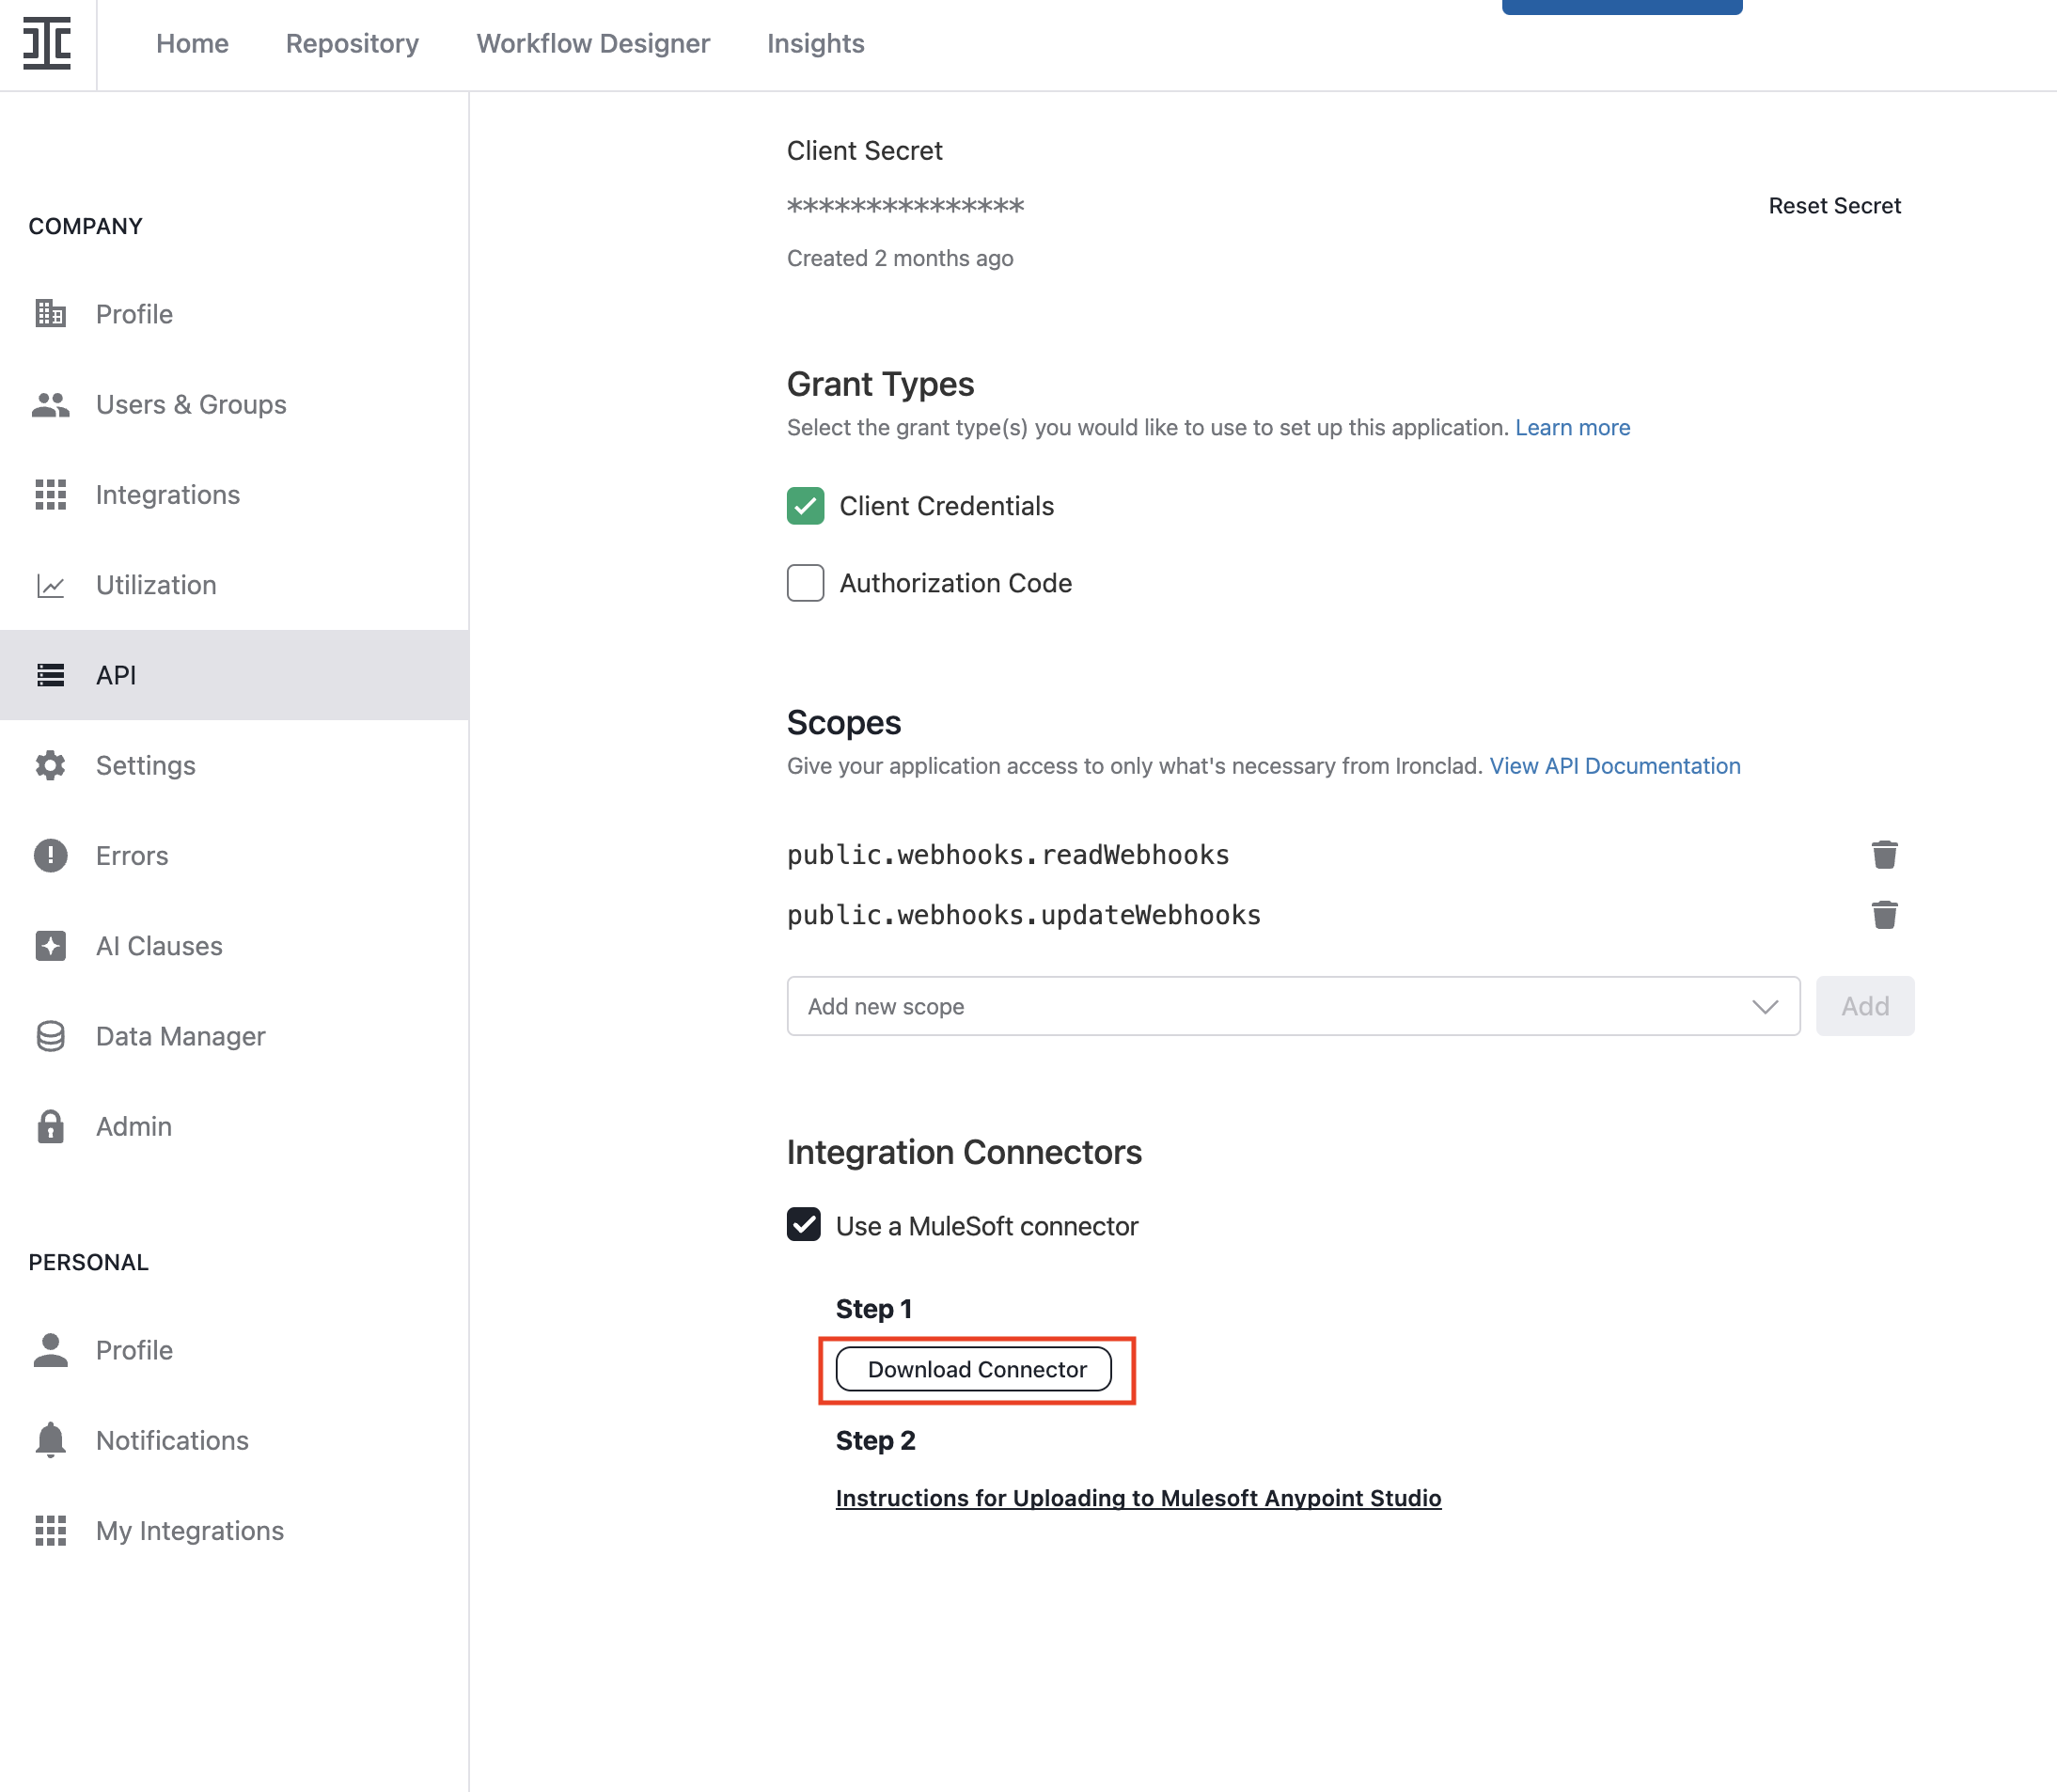
- Then, download the Ironclad connector zip file via the client application edit page.
-
Install & Use Maven
- Maven is used to download dependencies from the internet. Within your terminal, ensure that Maven is installed. This can be done in several ways, but a simple way would be to use the brew command
brew install mvnvm - To ensure Maven is working on your machine, you can test with the command
mvn —-version
1. The result of this should contain the path (exact version may vary), e.g
Maven home: /Users/user/.mvnvm/apache-maven-3.9.9 - Afterwards, in the install directory, you should be able to access a folder called
.m2- This folder gets automatically created on your machine after installing Maven
- Unzip the
mulesoft-connector.zipfile from Ironclad, which should result in a folder titled something like2.10.72(or a later version)- On MacOS, you can just double-click the zip file. On Windows, right-click the file and select “Extract All”
- Within the
.m2folder, there should be a folder titledrepository, you can put the that unzipped folder in here under.m2/repository/com/ironclad/muleconnector/ironclad-connector/2.10.72(or a later version)
- Maven is used to download dependencies from the internet. Within your terminal, ensure that Maven is installed. This can be done in several ways, but a simple way would be to use the brew command
-
Upload the Jar file to Anypoint Studio
-
Open Anypoint Studio, and click on the "Install Artifact in local repository" icon on the toolbar.
-
Locate the
ironclad-connector-2.10.72-mule-plugin.jarin the unzipped folder within your.m2directory -
Once the file is selected and all the values below are filled in automatically, click Install
- This will install the connector dependency in your local maven repository.
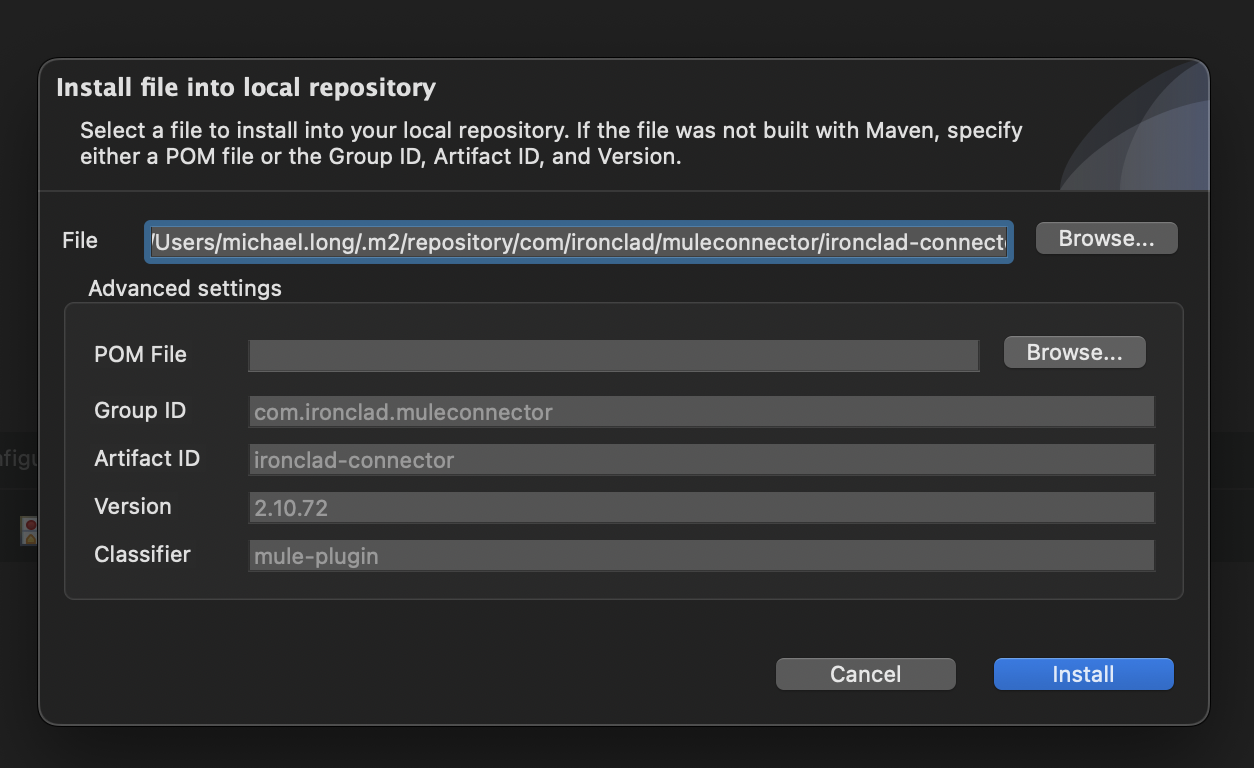
b. Depending on the connector dependency as shown in the previous screenshot, add them in any mule application’s
pom.xml.
-
-
Set dependency in Project Pom file
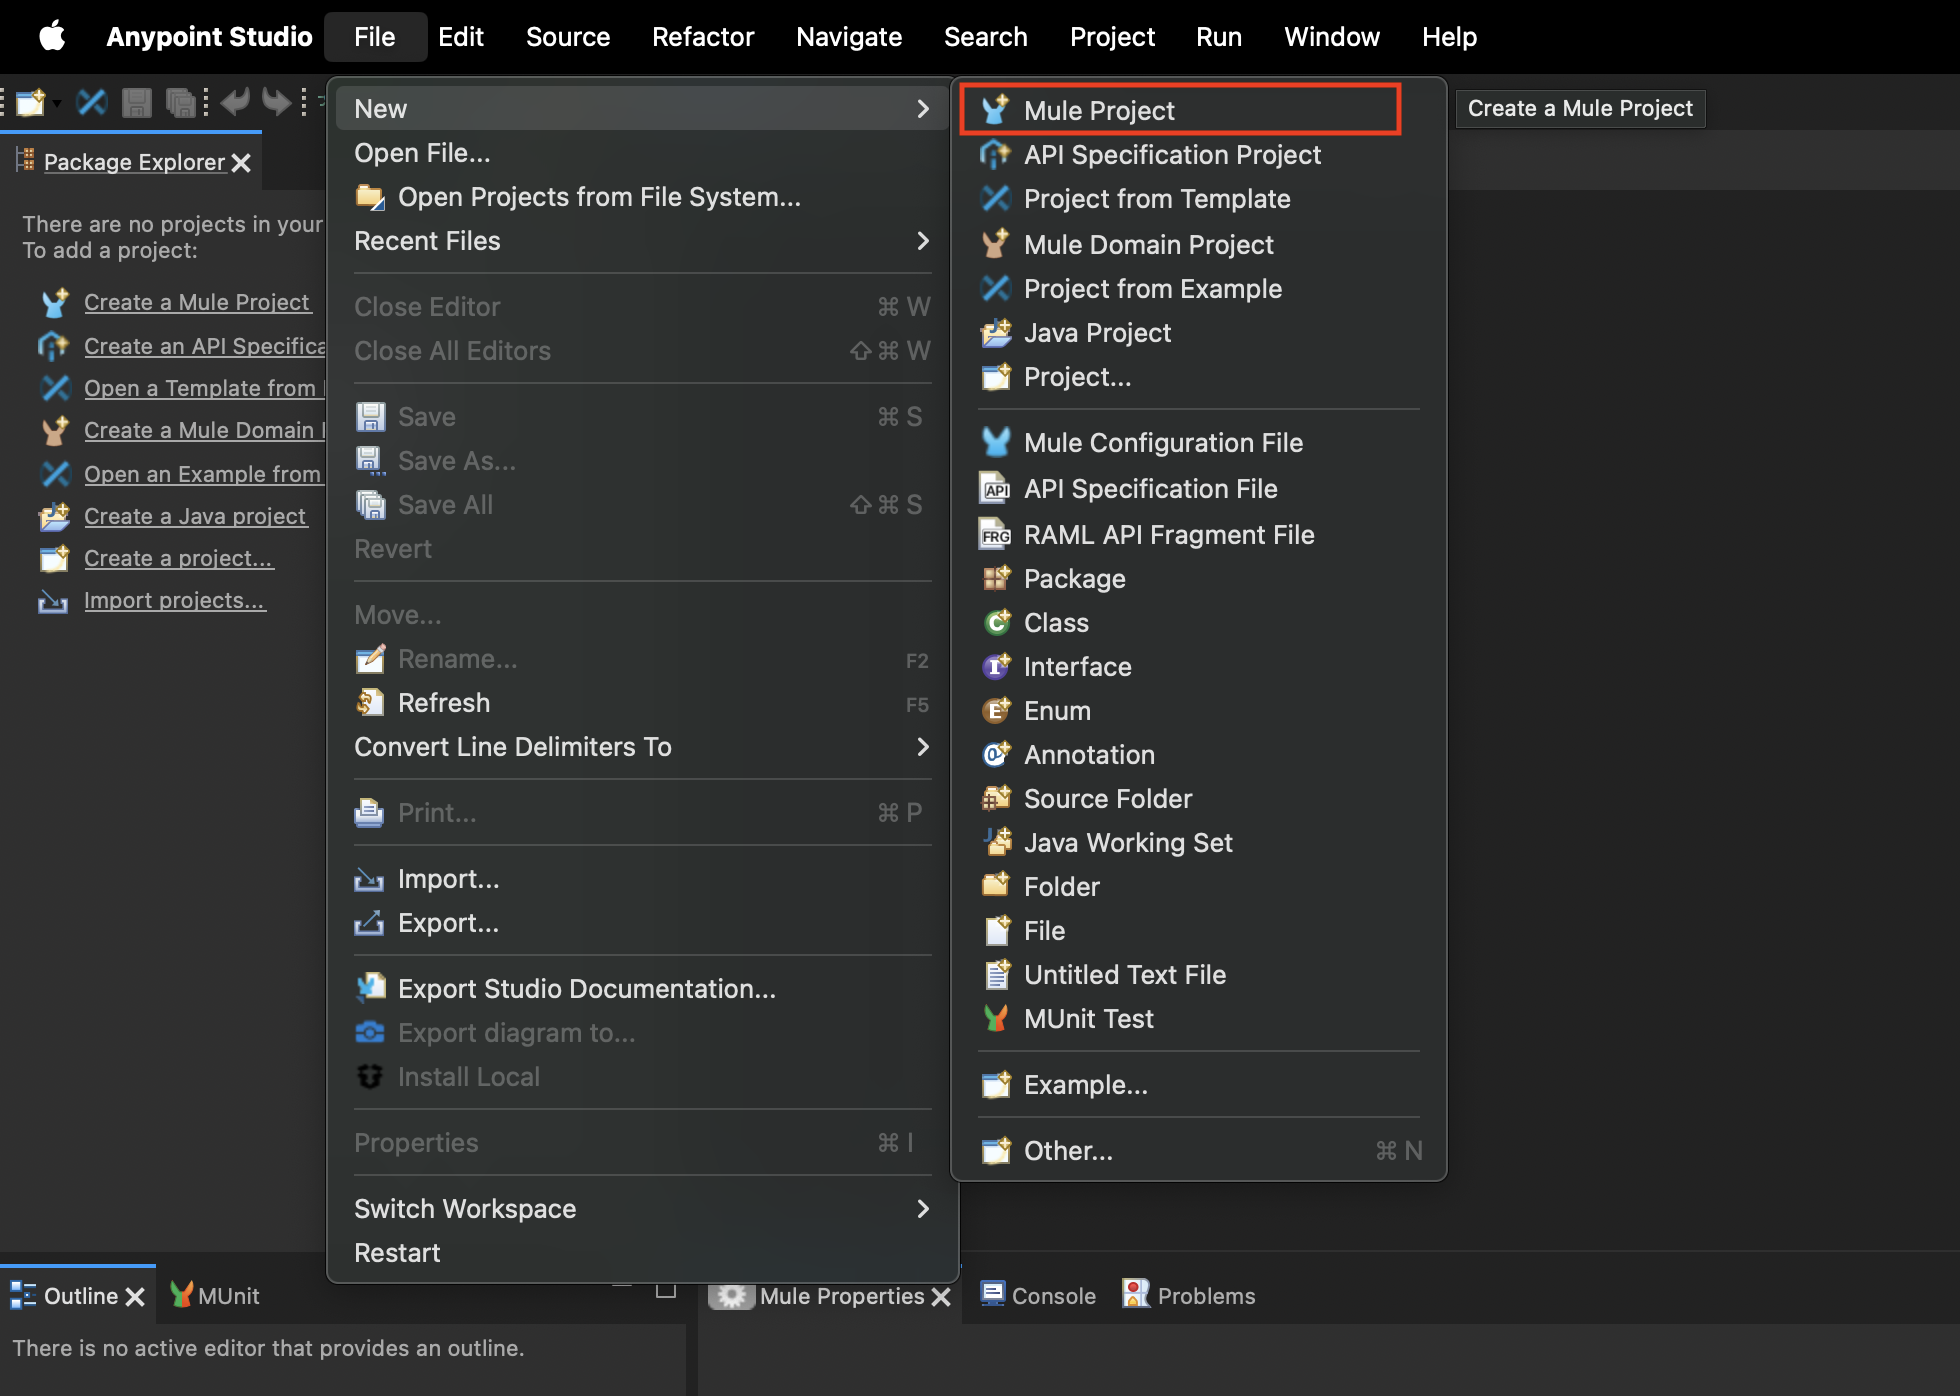
a. Create a new project via File → New → Mule Project
b. Once the project is created, navigate to
pom.xmlin the folder structure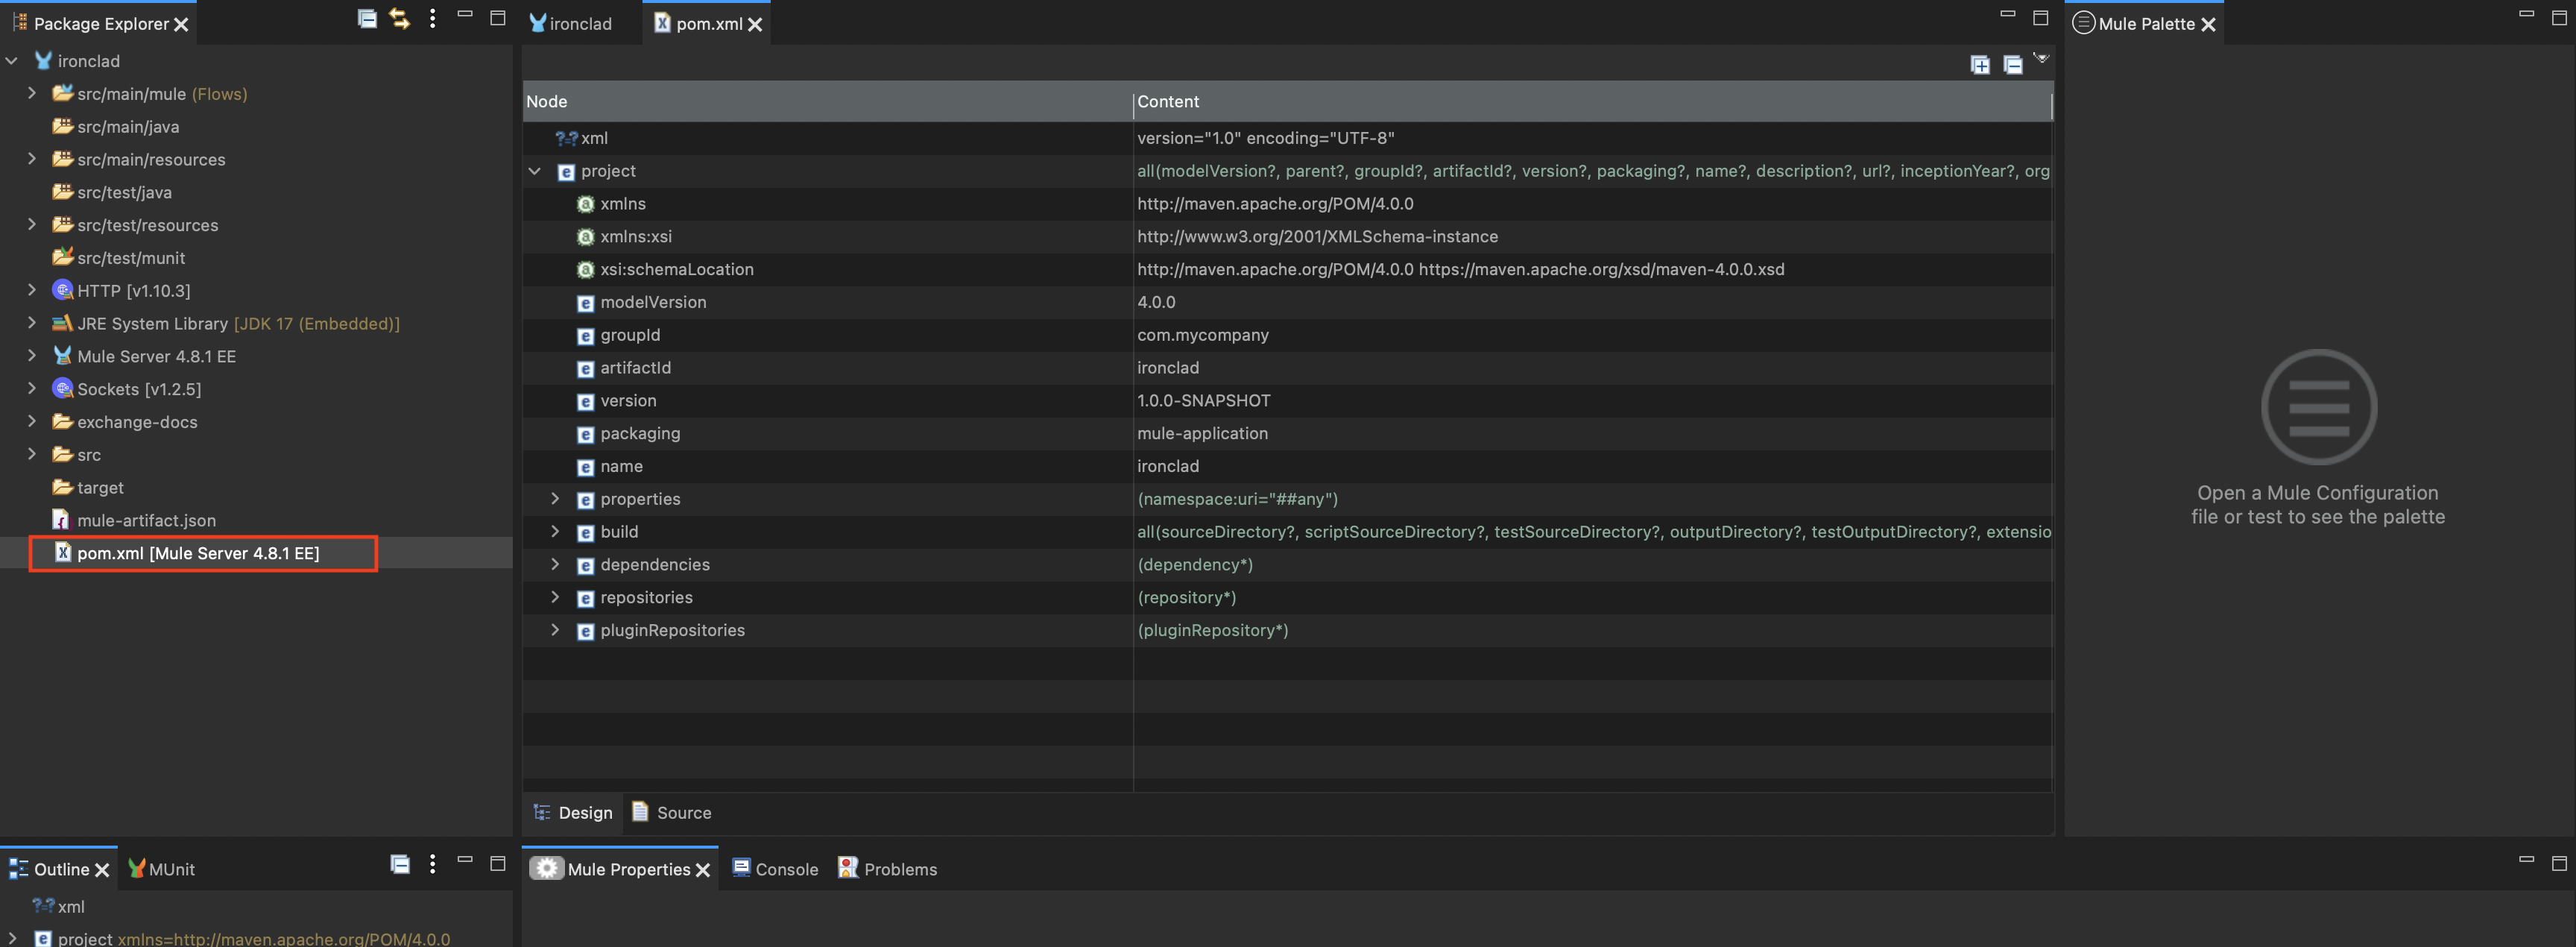
c. Right click the pom.xml and select Open With → Text Editor
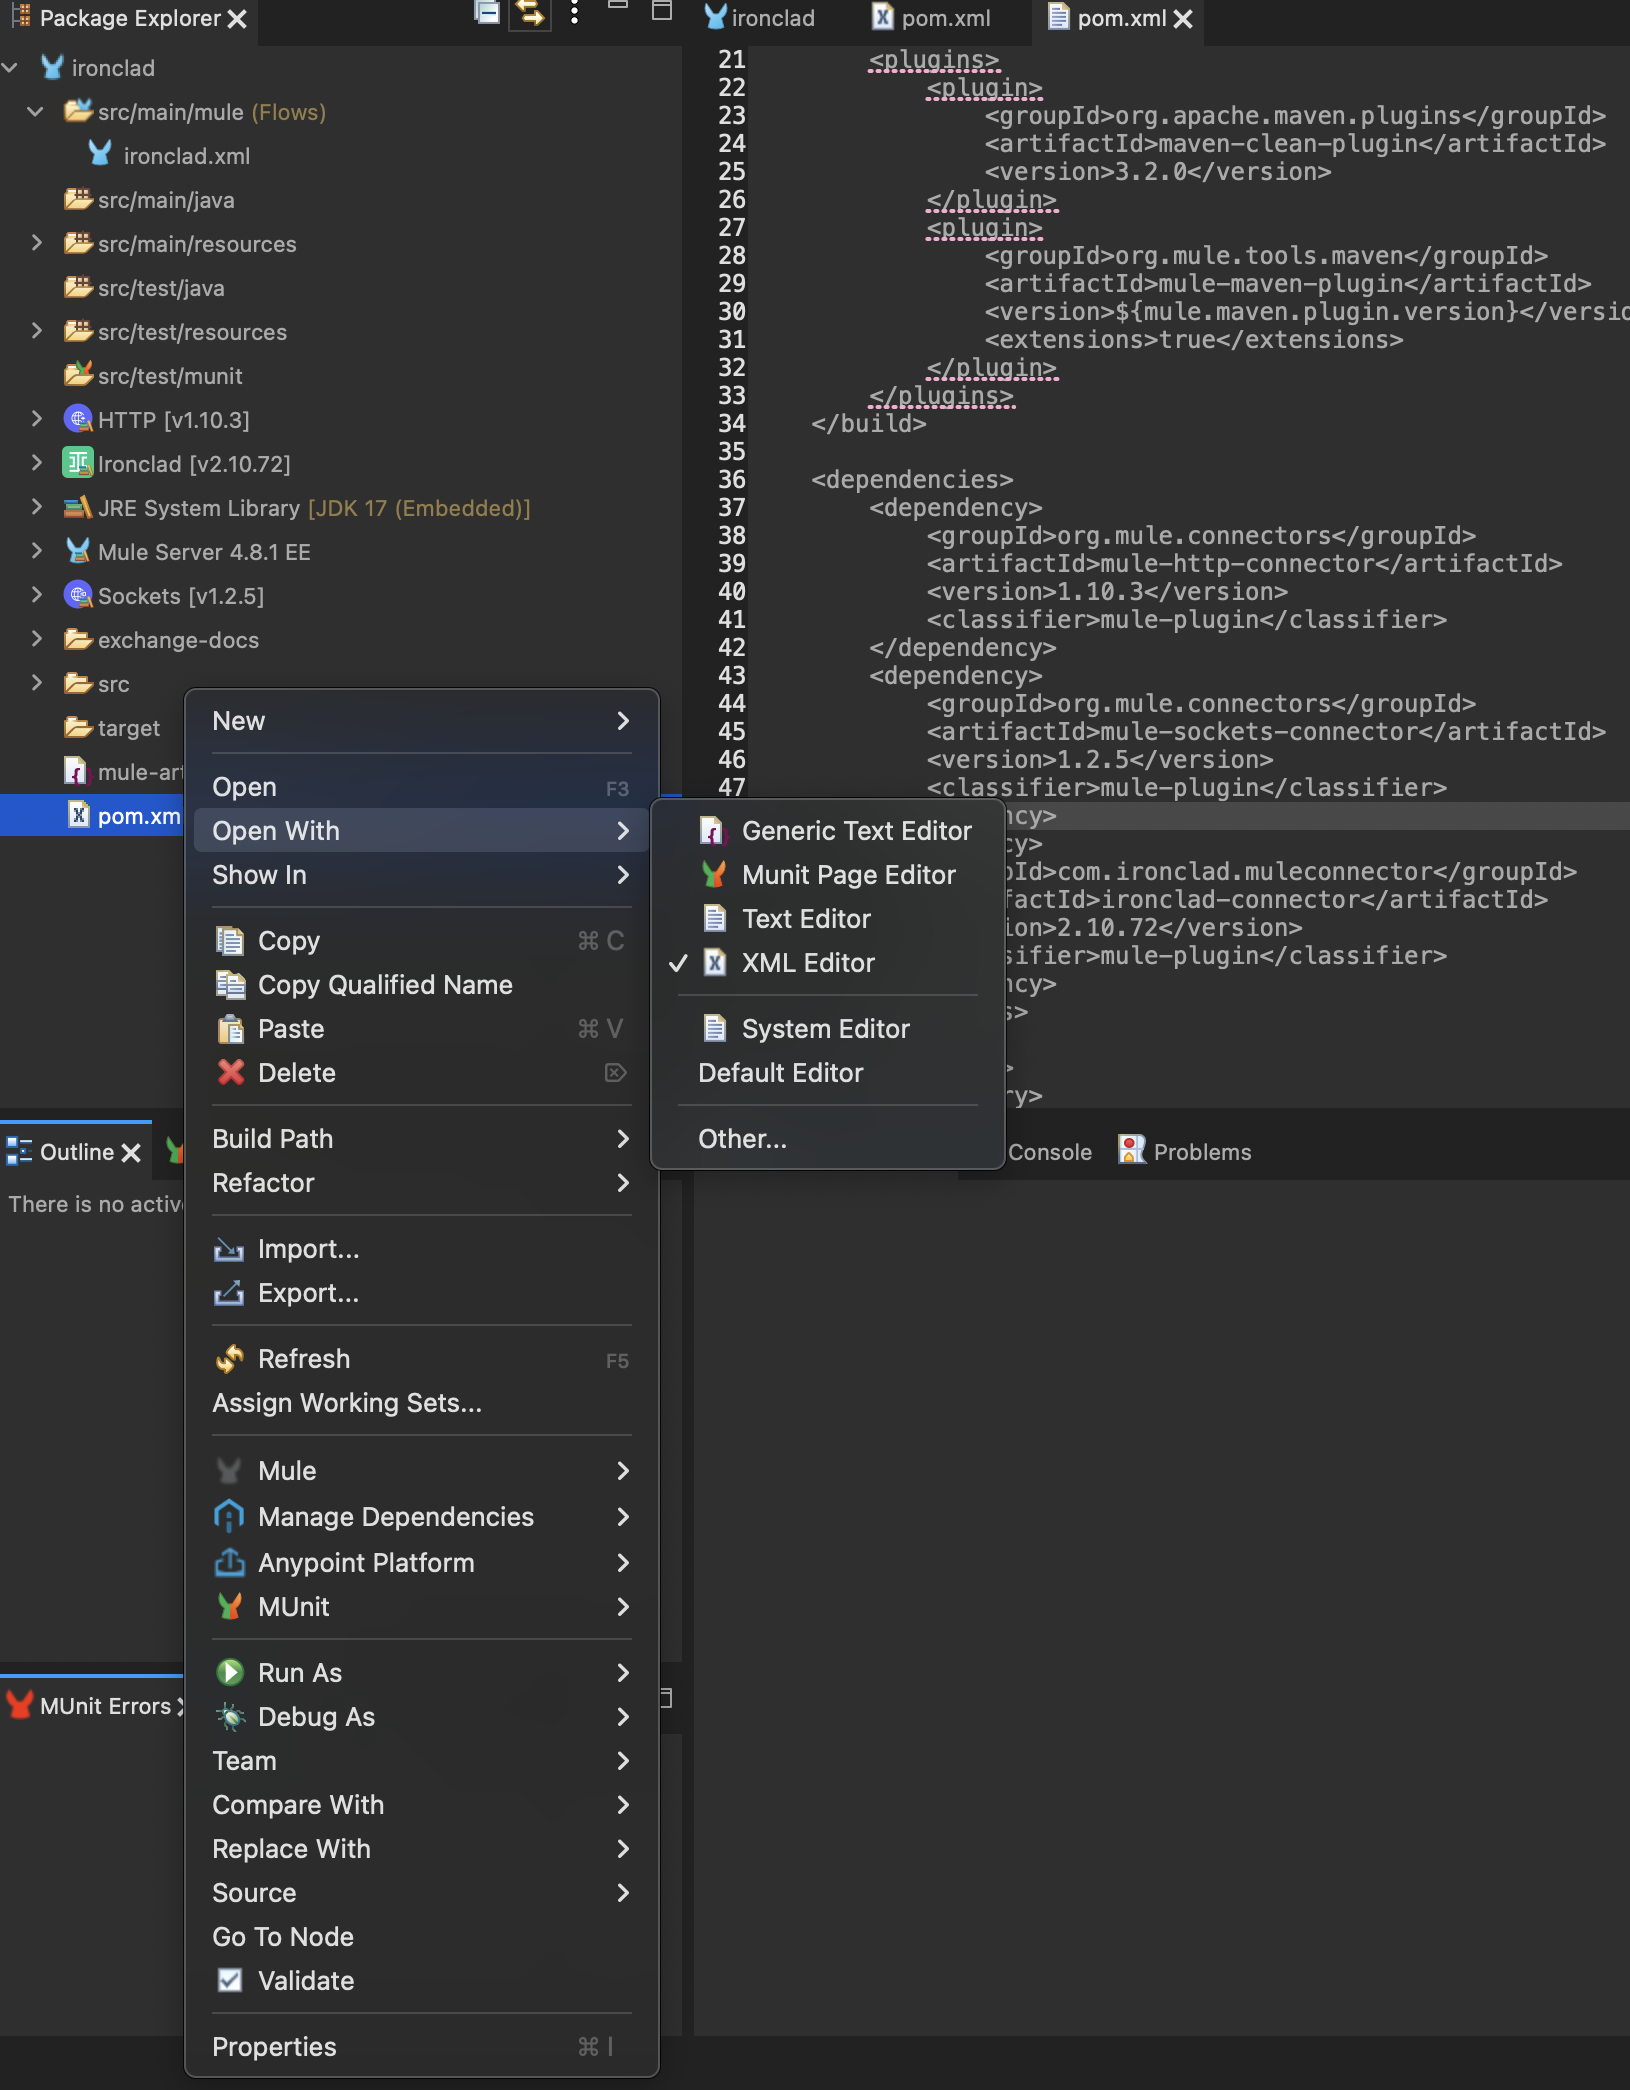
d. Add the dependency to the pom.xml in the main project folder as (version number may vary)
<dependency>

	<groupId>com.ironclad.muleconnector</groupId>

	<artifactId>ironclad-connector</artifactId>

	`<version>2.10.72</version>`

	<classifier>mule-plugin</classifier>

</dependency>
e. Save the
pom.xmlchanges -
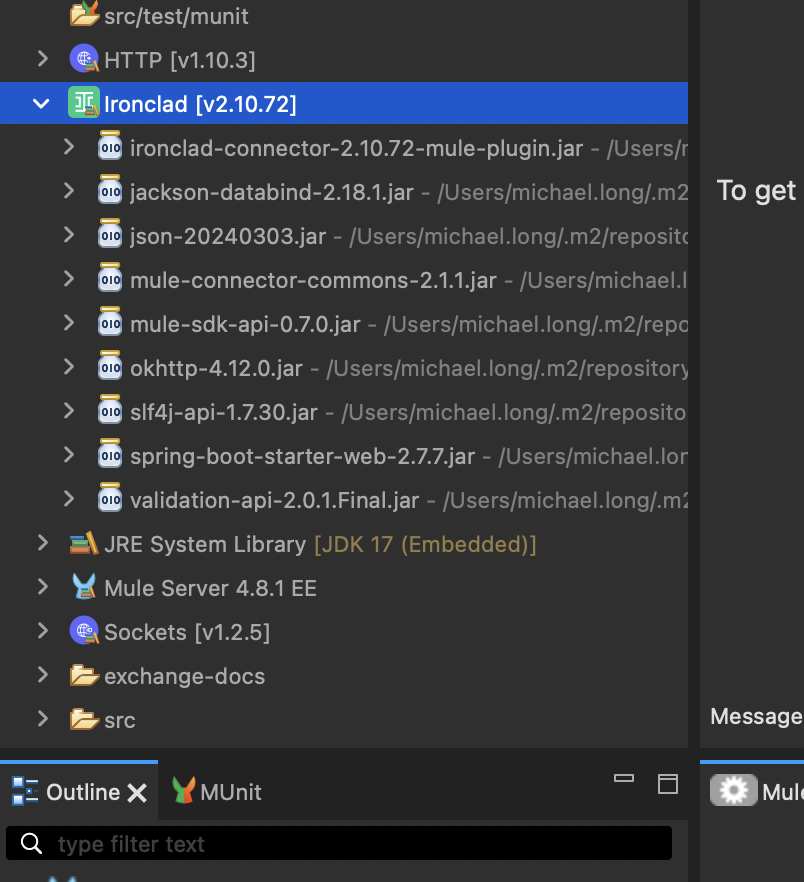
Once dependency is added, connector should be added as part of project
Updated 5 months ago
