Smart Import API (Salesforce Example)
Learn how to Smart Import a document from Salesforce to Ironclad using the Smart Import API.
Overview
This guide demonstrates the principle steps involved in using Ironclad’s Smart Import API to push a Salesforce file to Ironclad’s repository, utilizing Salesforce Apex and Salesforce Flow. Ironclad’s Smart Import capability can ingest agreements and automatically extract relevant contract fields and clauses.
Please note that the approach shown here is only meant to demonstrate an example solution for building this integration, but it is a custom integration and not an out-of-the-box supported connector. To view a list of out-of-the-box connectors that Ironclad supports, check out our Help Center.
The use case for our example is a legal ops team that needs to import Salesforce files into Ironclad on an ad-hoc basis. This scenario may occur for one-off agreements handled outside of Ironclad (e.g., terms and conditions signed through a customer’s online portal). We will (a) create a Salesforce Apex class that calls the Smart Import API to import the latest version of a Salesforce File and (b) allow end users to trigger the Smart Import on a Salesforce File using a Salesforce screen flow.
To see it in action, skip to the See It in Action section or view the video below. Your specific situation may differ. You might choose to use different tools or create an automated version that imports files when certain business rules have been met. Ironclad’s API makes the same capability available regardless of how you leverage it.
Note: This guide and any software contained in it should be used at your own risk by individuals qualified to evaluate its effectiveness. IT IS PROVIDED “AS IS”, WITHOUT WARRANTY OF ANY KIND, EXPRESS OR IMPLIED, INCLUDING BUT NOT LIMITED TO THE WARRANTIES OF MERCHANTABILITY, FITNESS FOR A PARTICULAR PURPOSE AND NONINFRINGEMENT. IN NO EVENT SHALL IRONCLAD BE LIABLE FOR ANY CLAIM, DAMAGES OR OTHER LIABILITY, WHETHER IN AN ACTION OF CONTRACT, TORT OR OTHERWISE, ARISING FROM, OUT OF OR IN CONNECTION WITH YOUR USE OF THIS GUIDE OR ANY SOFTWARE IT CONTAINS.
Your use of the Ironclad API must comply with Ironclad’s API Terms of Use (available athttps://legal.ironcladapp.com/api-terms-of-use) and the terms of the Enterprise Services Agreement (or equivalent) entered into between you and Ironclad.
Background
- API Access: Your Ironclad environment will need to have API access enabled, since the Salesforce function makes use of the Ironclad public APIs to enable the integration.
- Smart Import Credits: The Smart Import API counts towards your Smart Import upload usage. You can check your usage under Company Settings > Settings.
- Salesforce: You will need the ability to modify your Salesforce environment to (1) add an Apex class, (2) create a Salesforce flow, and (3) update the Salesforce File lightning page. You may also need to navigate Salesforce permissions depending on your organization’s requirements.
- Reference Documentation: Please see Ironclad’s API Reference documentation for the most up-to-date details on our endpoints. For information on building workflows in Ironclad, please see Ironclad Academy for guided training and Ironclad Support Center for product articles.
Setup
There are three steps for this project:
- Creating a Salesforce Apex class to retrieve the Salesforce file and send it to Ironclad’s Smart Import API,
- Creating a Salesforce screen flow to present users with an interface to trigger the import, and
- Adding the Salesforce screen flow to the Salesforce file lightning page.
Create Salesforce Apex Class
We will add a Salesforce Apex class to retrieve the latest version of a Salesforce file and pass it to Ironclad’s Smart Import API.
Add the Apex class to your Salesforce environment.
- Create an Apex class by clicking the
 Setup Gear > Settings > Custom Code > Apex Class > New.
 - Paste the class below into Salesforce. This class includes an invocable method to trigger the Smart Import API. Invocable methods can receive data from and output data to other Salesforce services (e.g., the Salesforce Flow we will use later to call this method).
- Replace the two
[ALL_CAPS]placeholders with your Ironclad environment details.- For
[YOUR_TOKEN], generate and add your API token (see authentication). - For
[YOUR_DOMAIN], add your Ironclad domain (e.g.,demo.ironcladapp.com,na1.ironcladapp.com,eu1.ironcladapp.com, etc.).
- For
- Save the class.
Bearer Token DetailsThis approach stores an Ironclad bearer token in plain-text in the Apex class. The bearer token has full access to all Ironclad API capabilities including reading and deleting data.
This approach is shown for ease of demonstration. Please consider your internal security requirements and adjust accordingly.
public class IroncladSmartImport {

    private final static String IRONCLAD_API_TOKEN = '[YOUR_TOKEN]';
    private final static String IRONCLAD_BASE_URL = 'https://[YOUR_DOMAIN]/public/api/v1';
    private final static String FORM_DATA_BOUNDARY = 'xyz---------------xyz';
    @InvocableMethod(label='Smart Import Document into Ironclad'
   description='Smart imports the latest version of the document corresponding to the contentDocumentId into Ironclad\'s repository. If an Ironclad importId is provided the document is added to that import.'
category='Account')
    public static List<String> smartImportDocument(List<IroncladSmartImportFlowInput> inputs) {


        HttpRequest req = new HttpRequest();
        IroncladSmartImportFlowInput input = inputs.get(0);
        String contentDocumentId = input.contentDocumentId;
        if (String.isBlank(input.importId)) {
            req.setEndpoint(IRONCLAD_BASE_URL + '/records/smart-import');
        } else {
            req.setEndpoint(IRONCLAD_BASE_URL + '/records/smart-import/' + input.importId);
        }


        Blob requestBody = getSmartImportRequestBody(input.contentDocumentId);
        req.setMethod('POST');
        req.setHeader('Content-Type', 'multipart/form-data; boundary="' + FORM_DATA_BOUNDARY + '"');
        req.setHeader('Authorization', 'Bearer ' + IRONCLAD_API_TOKEN);
        req.setBodyAsBlob(requestBody);


        HttpResponse res = new Http().send(req);
        List<String> resComponents = new List<String>();
        resComponents.add('\r\n' + res.getStatusCode() + '(' + res.getStatus() + ')' + '\r\n\n'+ res.getBody());
        // Methods that use invocable variables must have the same number of input parameters and return values
        if (inputs.size() == 2) {
            resComponents.add('');
        }
        return resComponents;
    }


    private static Blob getSmartImportRequestBody(Id contentDocumentId) {
        ContentVersion latestVersion = [SELECT Id, PathOnClient, VersionNumber, IsLatest, LastModifiedDate, ContentSize, VersionData
        FROM ContentVersion
        WHERE ContentDocumentId = :contentDocumentId
        ORDER BY CreatedDate DESC
        LIMIT 1];
        String fileName = latestVersion.PathOnClient;
        Blob fileContent = latestVersion.VersionData;
        String delimiter = '\r\n--' + FORM_DATA_BOUNDARY + '\r\n';
        String close_delim = '\r\n--' + FORM_DATA_BOUNDARY + '--';


        // Add attachment
        String fileBody = '';
        fileBody += delimiter;
        fileBody += 'Content-Disposition: form-data; name="attachment"; filename="' + fileName + '"\r\n';
        fileBody += 'Content-Type: application/octet-stream\r\n\r\n';
        // Add the boundary to mark the end of the request body
        Blob bodyStartBlob = Blob.valueOf(fileBody);
        Blob bodyFileContent = latestVersion.VersionData;
        Blob bodyEndBlob = Blob.valueOf(close_delim);
        String combinedDataAsHex = EncodingUtil.convertToHex(bodyStartBlob)
        + EncodingUtil.convertToHex(bodyFileContent)
        + EncodingUtil.convertToHex(bodyEndBlob);
        Blob requestBodyBlob = EncodingUtil.convertFromHex(combinedDataAsHex);
        return requestBodyBlob;
    }


    public class IroncladSmartImportFlowInput {
        @InvocableVariable(required=true)
        public String contentDocumentId;


        @InvocableVariable(required=false)
        public String importId;
    }
}
Create Salesforce Flow
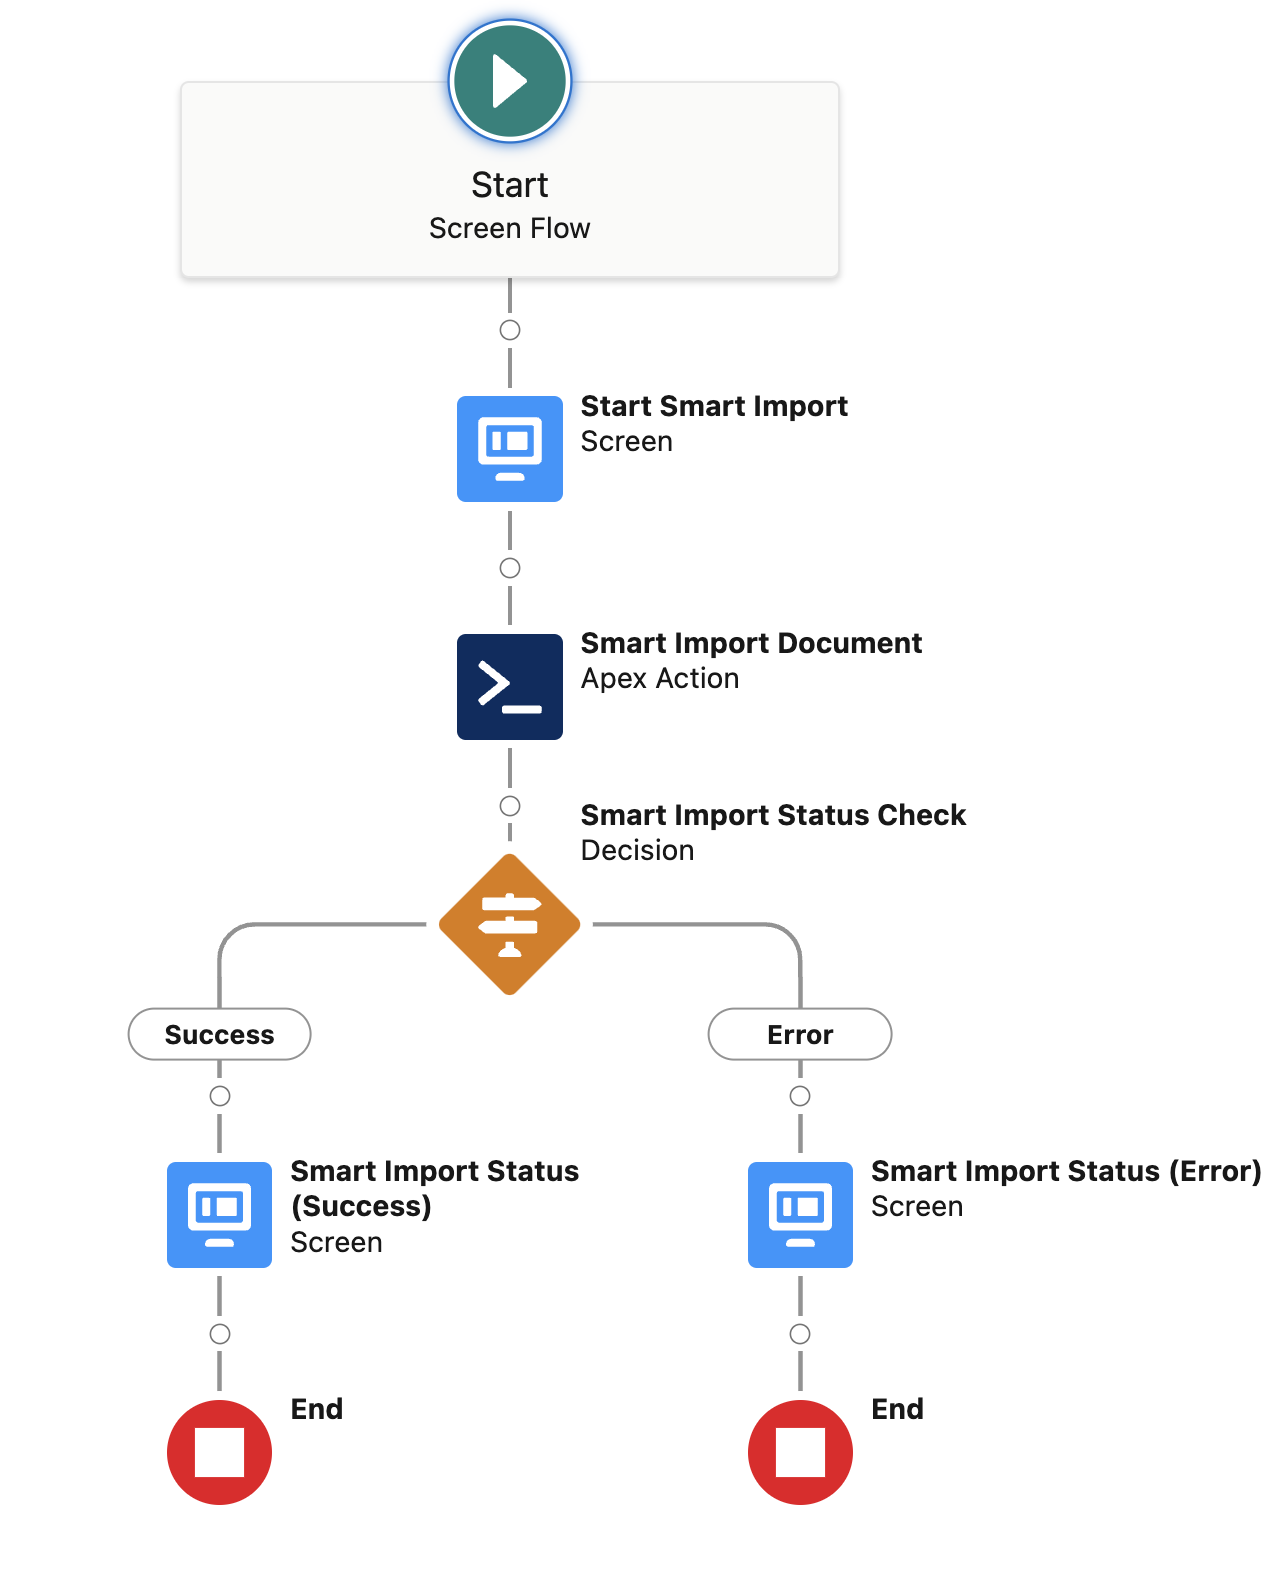
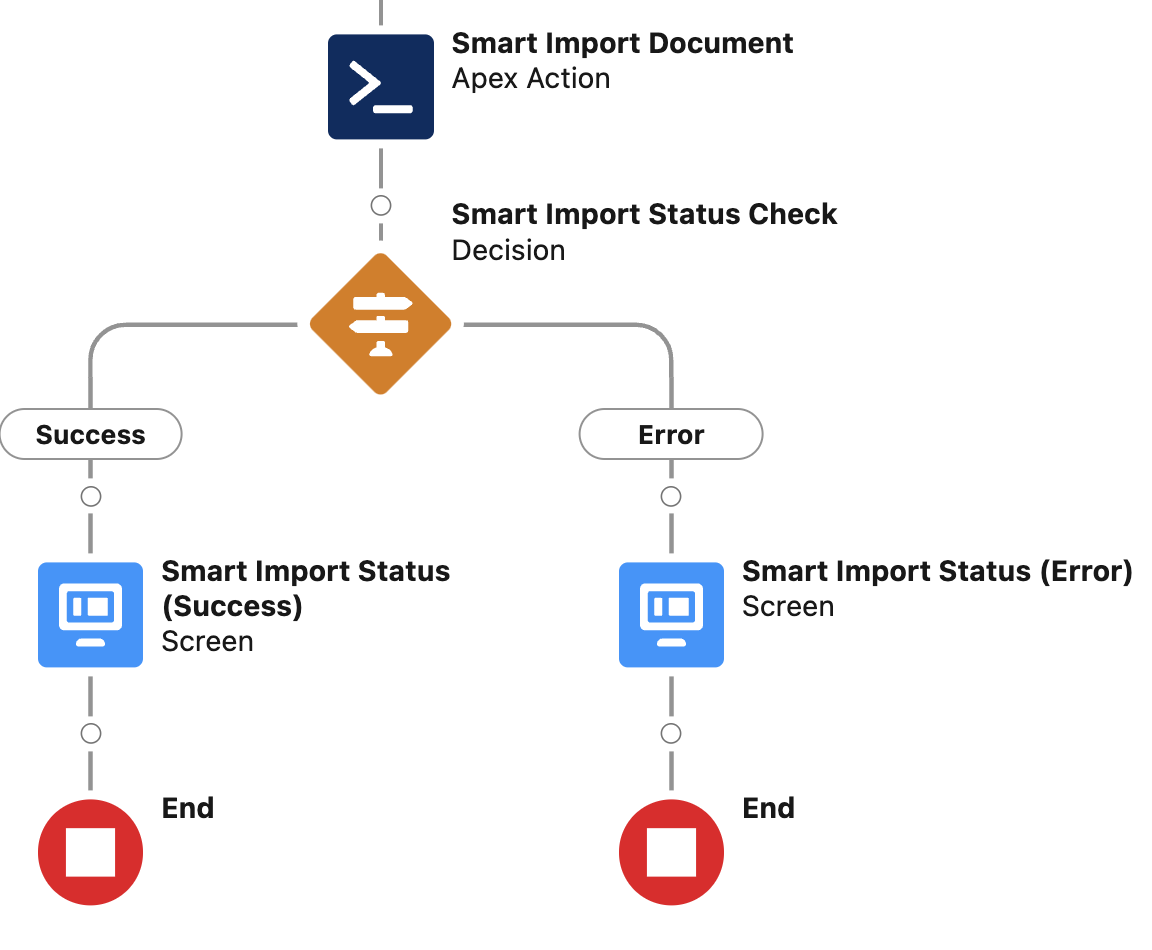
We will set up a Salesforce screen flow so users can view a Salesforce file and Smart Import it. The screen flow will follow the steps in the figure below.
Note: You may choose to automate your import by creating a Salesforce flow with business rules that automatically determine when a file should be imported. The screen flow approach is shown for ease of demonstration.
Create Screen Flow
Create a new Salesforce Flow by clicking the Setup Gear → Settings → Process Automation → Flows → New. Select Screen Flow as the type.
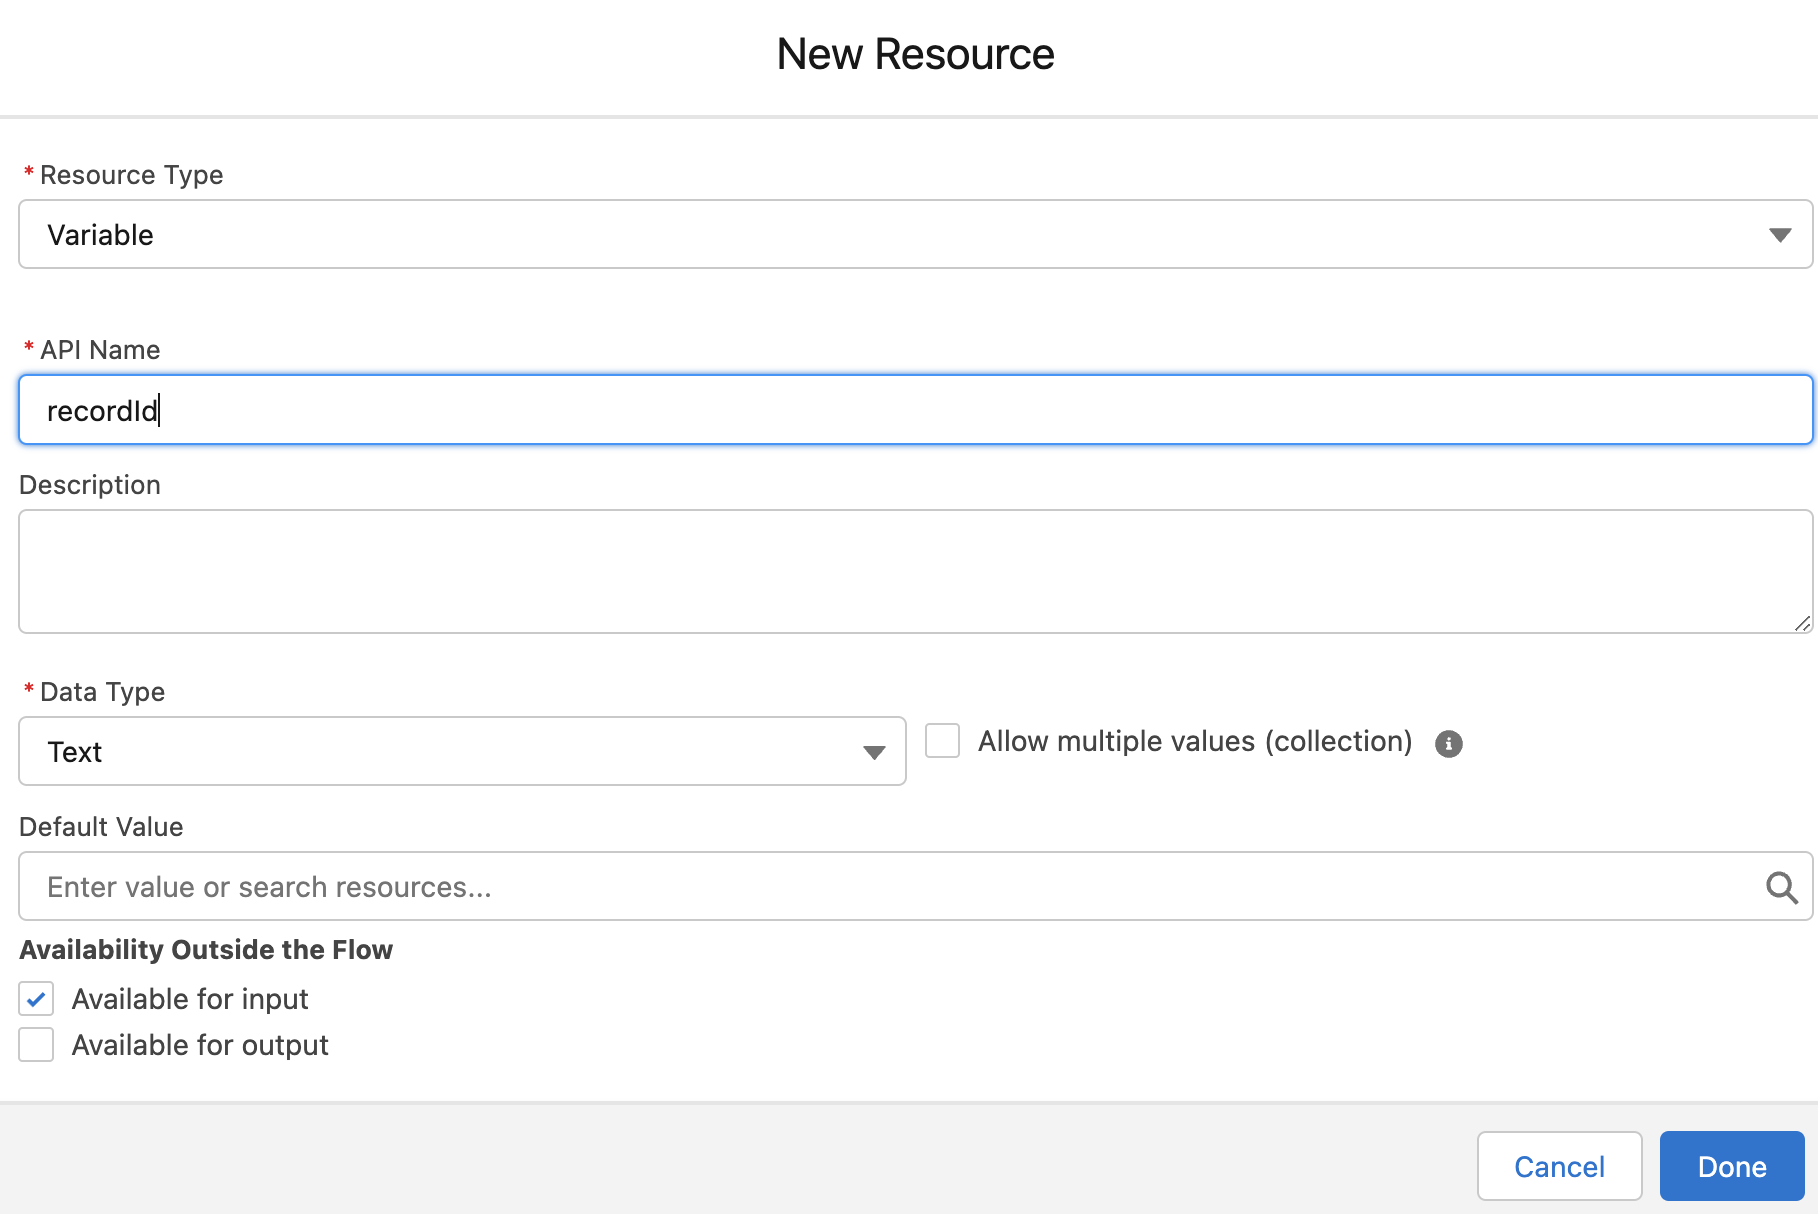
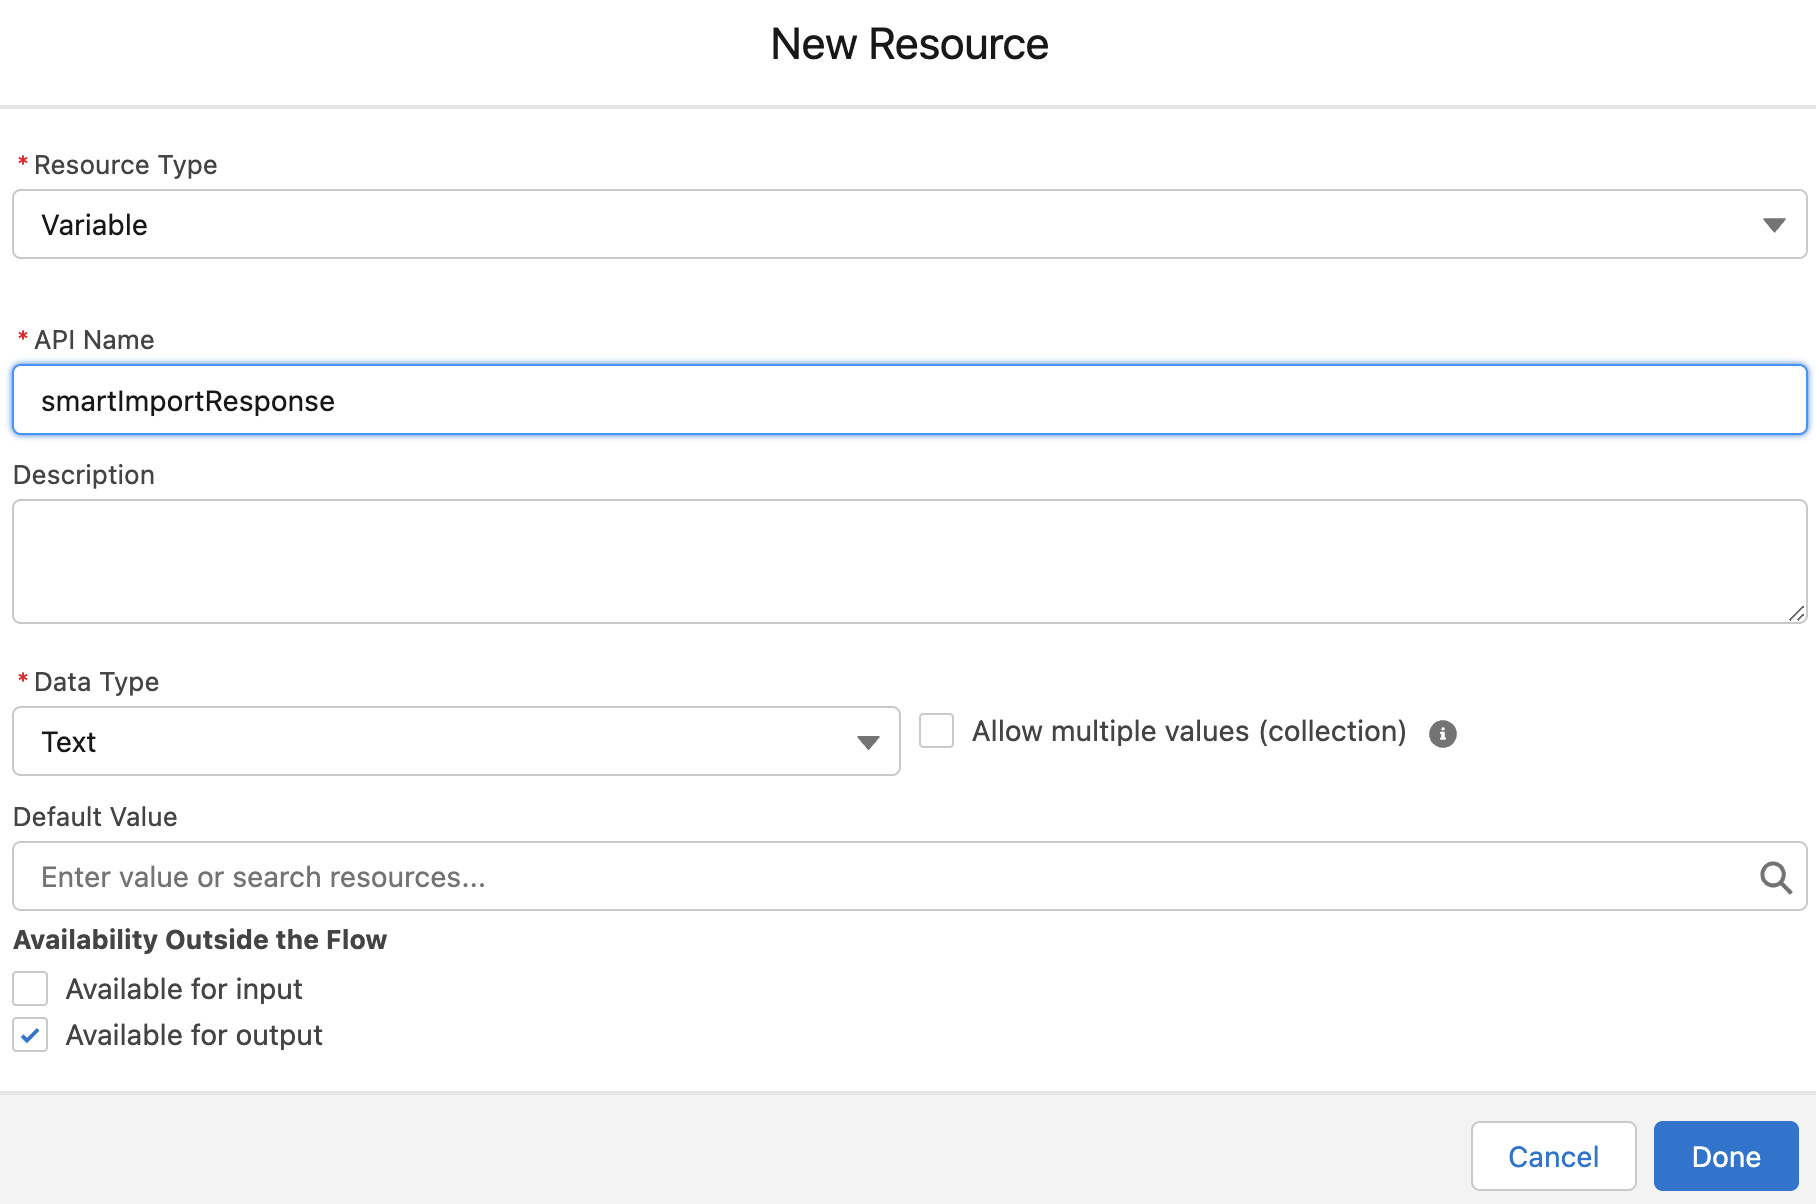
We will create two variables that will be used to input and output data during the flow. In the toolbox, click New Resource and select Variable each time to create the two variables below.
recordId: For the first variable, enterrecordIdas the API Name, selecttextfor type, and check theavailable for inputcheckbox. This is a special variable that Salesforce auto-populates if present; the API Name must be exactly recordId.
smartImportResponse: For the second variable, entersmartImportResponseas the API Name, selecttextfor type, and check theavailable for outputcheckbox. This variable will store Ironclad’s response when the flow calls the Smart Import API endpoint.
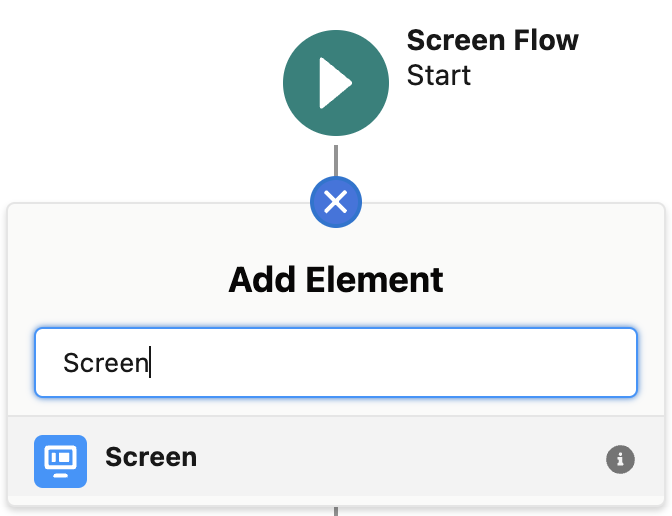
Add Flow Step (Start Smart Import Screen)
The first step in our flow will present a screen to let users trigger the Smart Import.
- Add a Screen element.
- Enter
Start Smart Importas the label.
- Under the Configure Header section, uncheck the
Show Headercheckbox. - Update the Configure Footer section. First, hide the
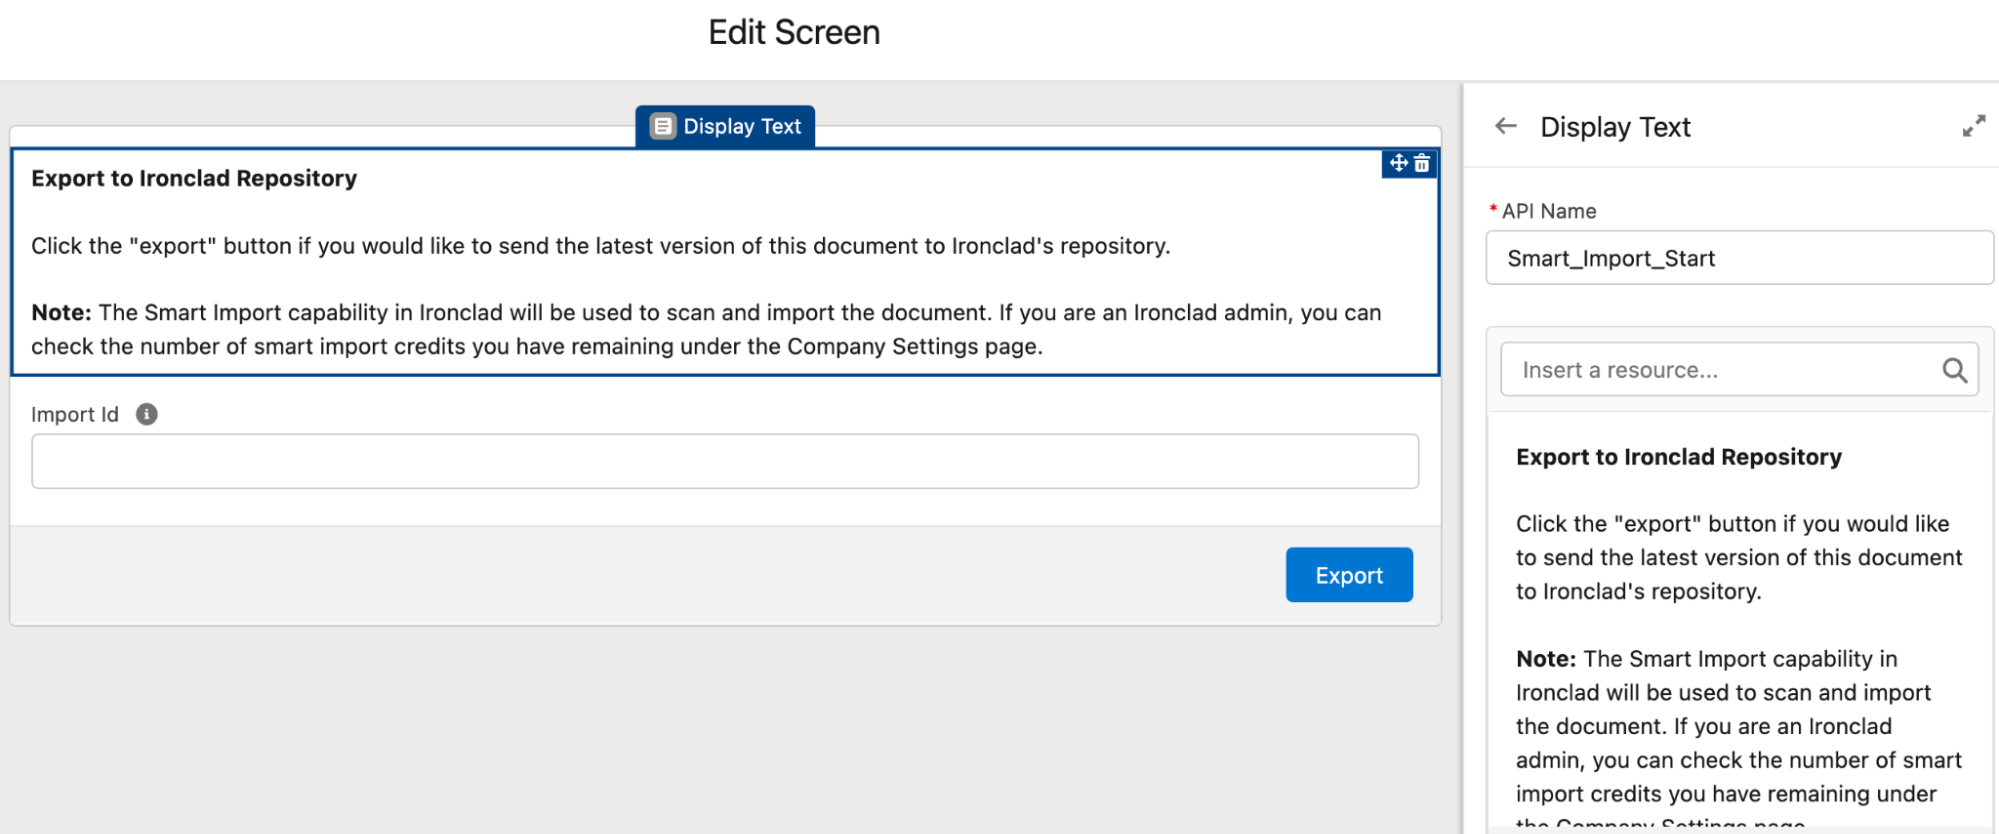
Previousbutton and thePausebutton. Finally, update theNext or Finishbutton by (a) selectingUse a custom labeland (b) enteringExportas the label; this button will trigger the Smart Import. - Add a Display Text component. Enter
Smart_Import_Startas the API Name. Copy/paste the instructions below into its text.
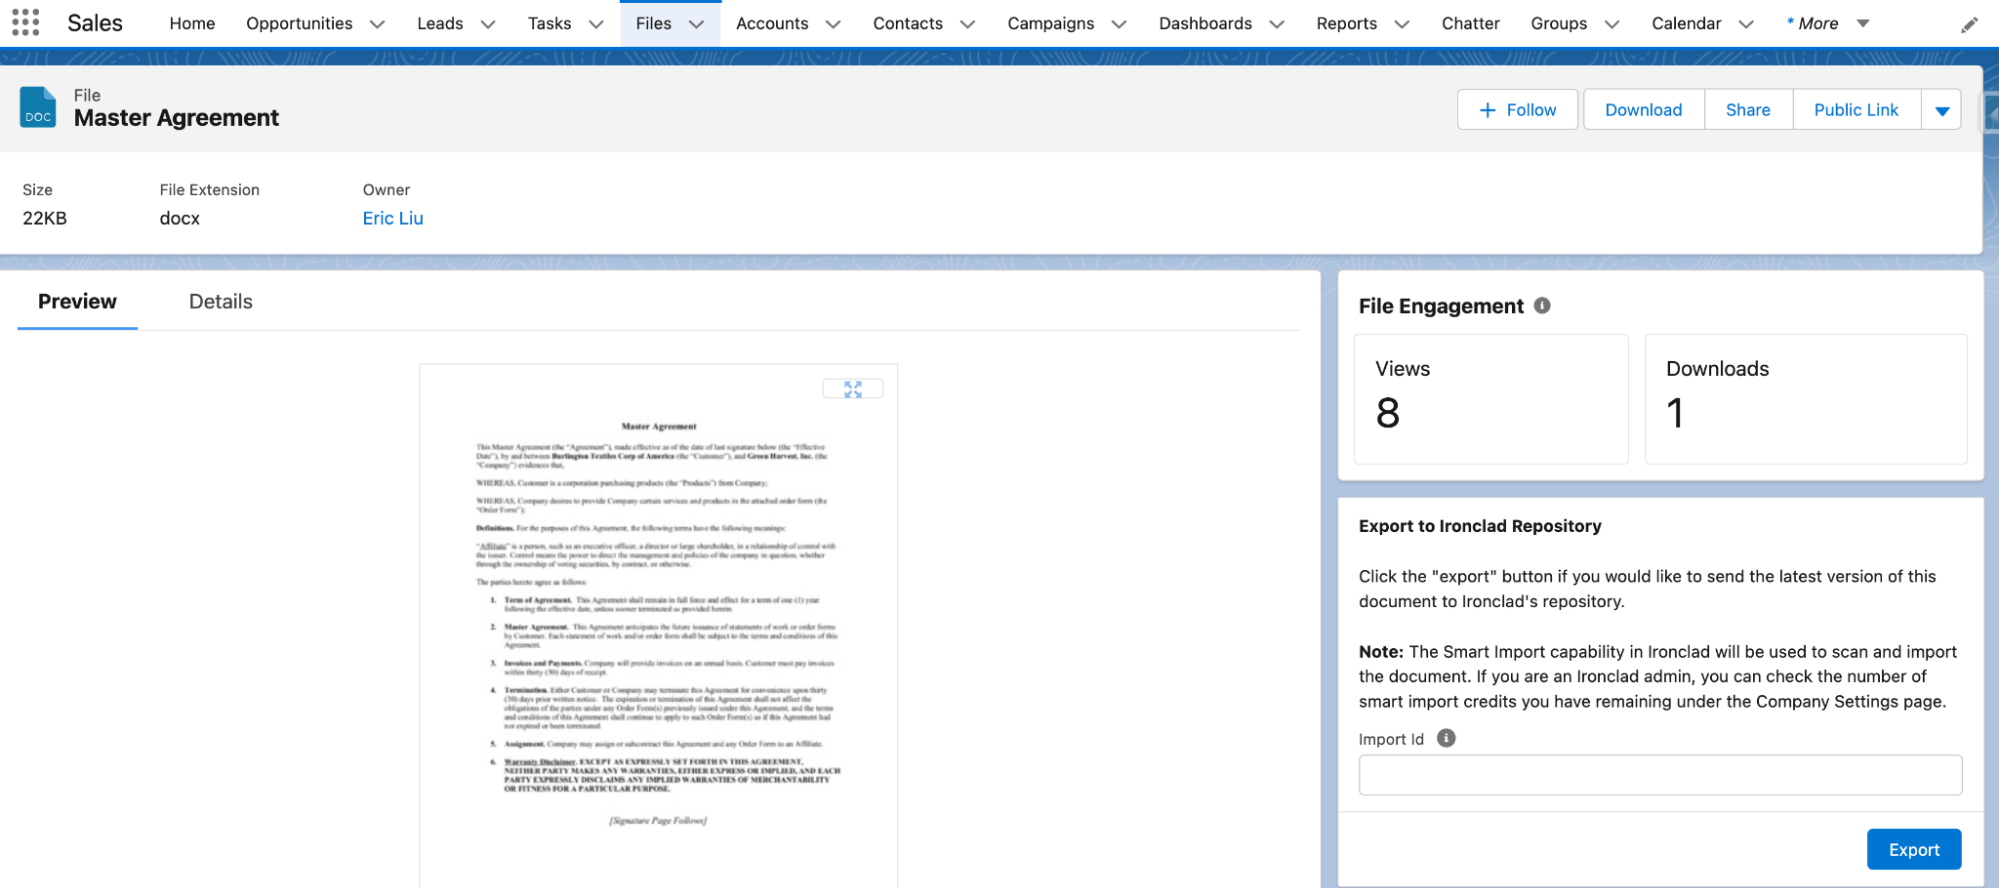
Export to Ironclad Repository
Click the "export" button if you would like to send the latest version of this document to Ironclad's repository.
Note: The Smart Import capability in Ironclad will be used to scan and import the document. If you are an Ironclad admin, you can check the number of Smart Import credits you have remaining under the Company Settings page.
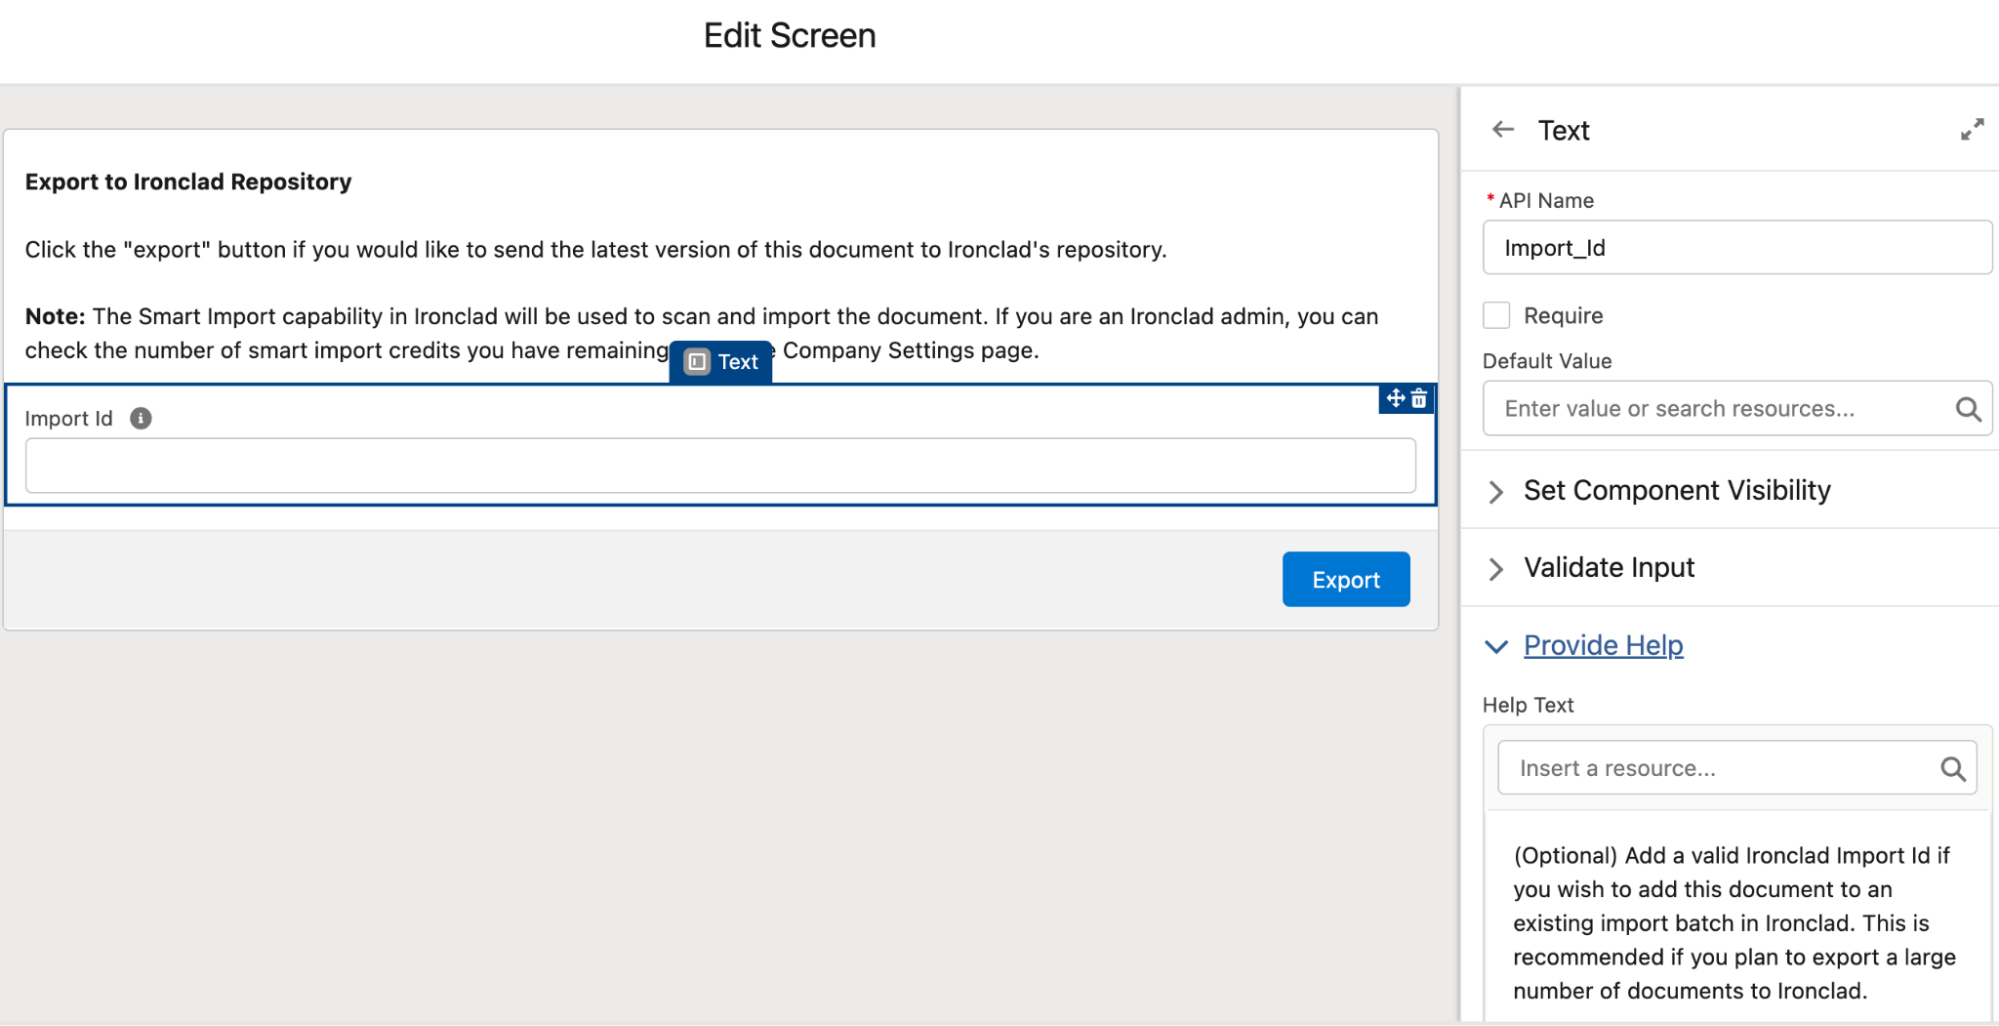
- Add a Text component under the previous Display Text component. Enter
Import_Idas the API Name. Add the text below to the help-text field. This component will give users the option to add the document to an existing import batch by entering an import id.
(Optional) Add a valid Ironclad Import Id if you wish to add this document to an existing import batch in Ironclad. This is recommended if you plan to export a large number of documents to Ironclad. If you do not have an existing import batch, you can create one by exporting one document to Ironclad and retrieving its Import Id for future use.
- Click Done to save the element.
Add Flow Step (Trigger Smart Import)
The second step in our flow will trigger the Smart Import using the Apex class we added.
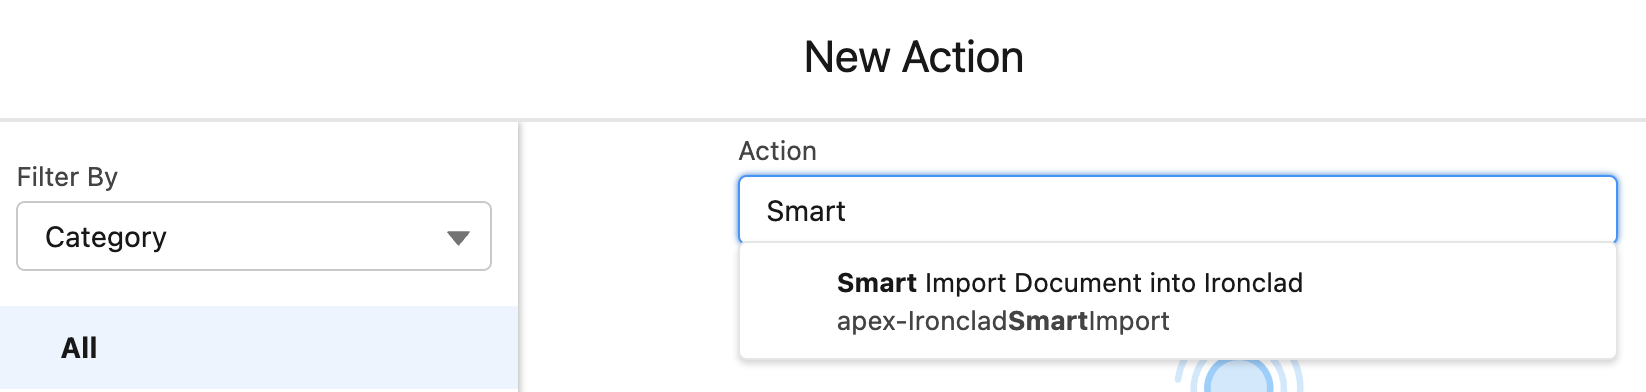
- Add an Action element. This element will trigger the Smart Import.
- Search for and select the
Smart Import Document Apexclass you created in the Salesforce Apex Class Setup section.
- Enter
Smart Import Documentas the label.
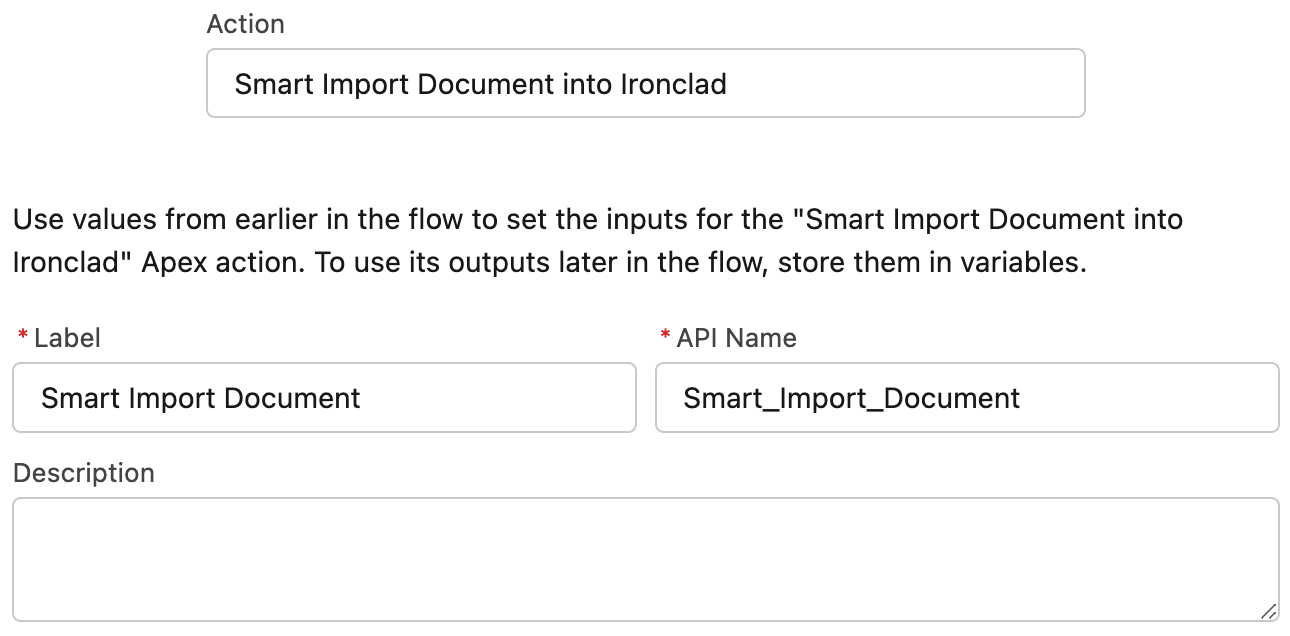
- Fill in the Input Values for the Selected Action section. For contentDocumentId, select the
recordIdvariable. For importId, toggle on the Include radio button and select theImport_Idvariable from the previous step.

- Expand the Advanced section. Check the
Manually assign variablescheckbox. For output, select thesmartImportResponsevariable. For Transaction Control, selectLet the flow decide.
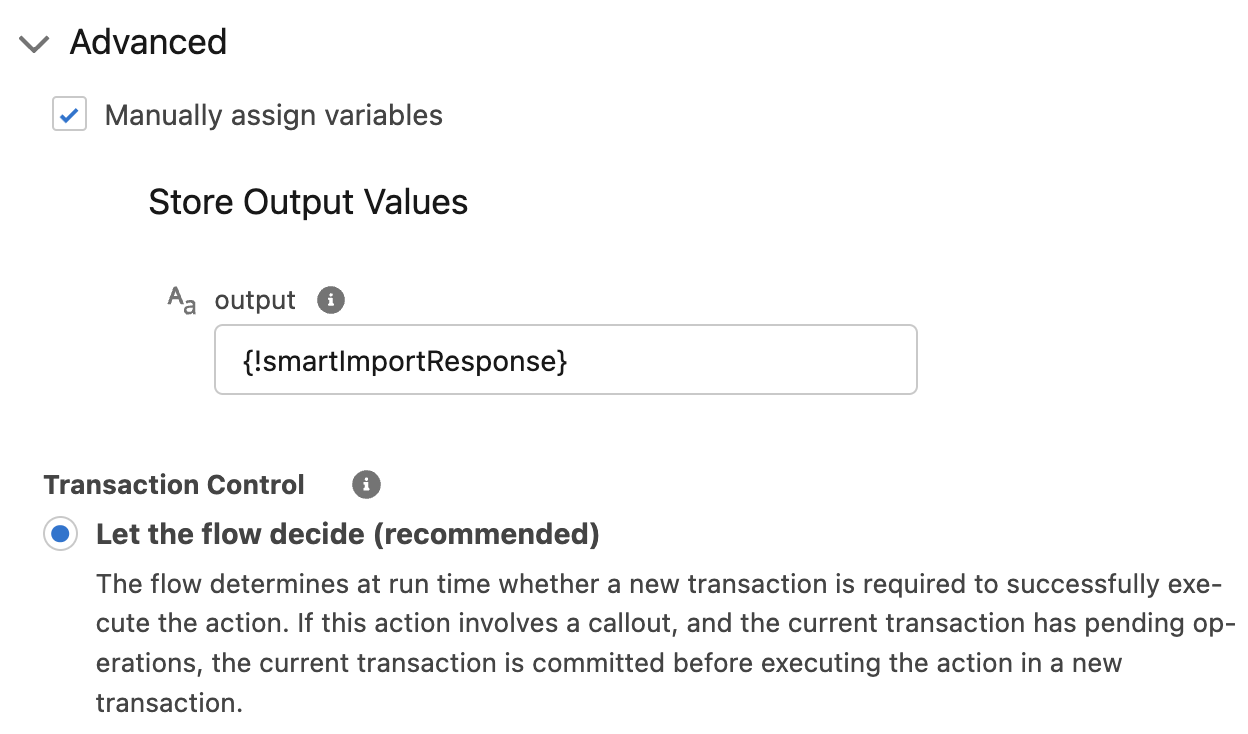
- Click Done.
Add Flow Step (Smart Import Status Check)
The third step in our flow will check if the Smart Import succeeds. If it succeeds, we will present a success screen. If it fails, we will present an error screen.
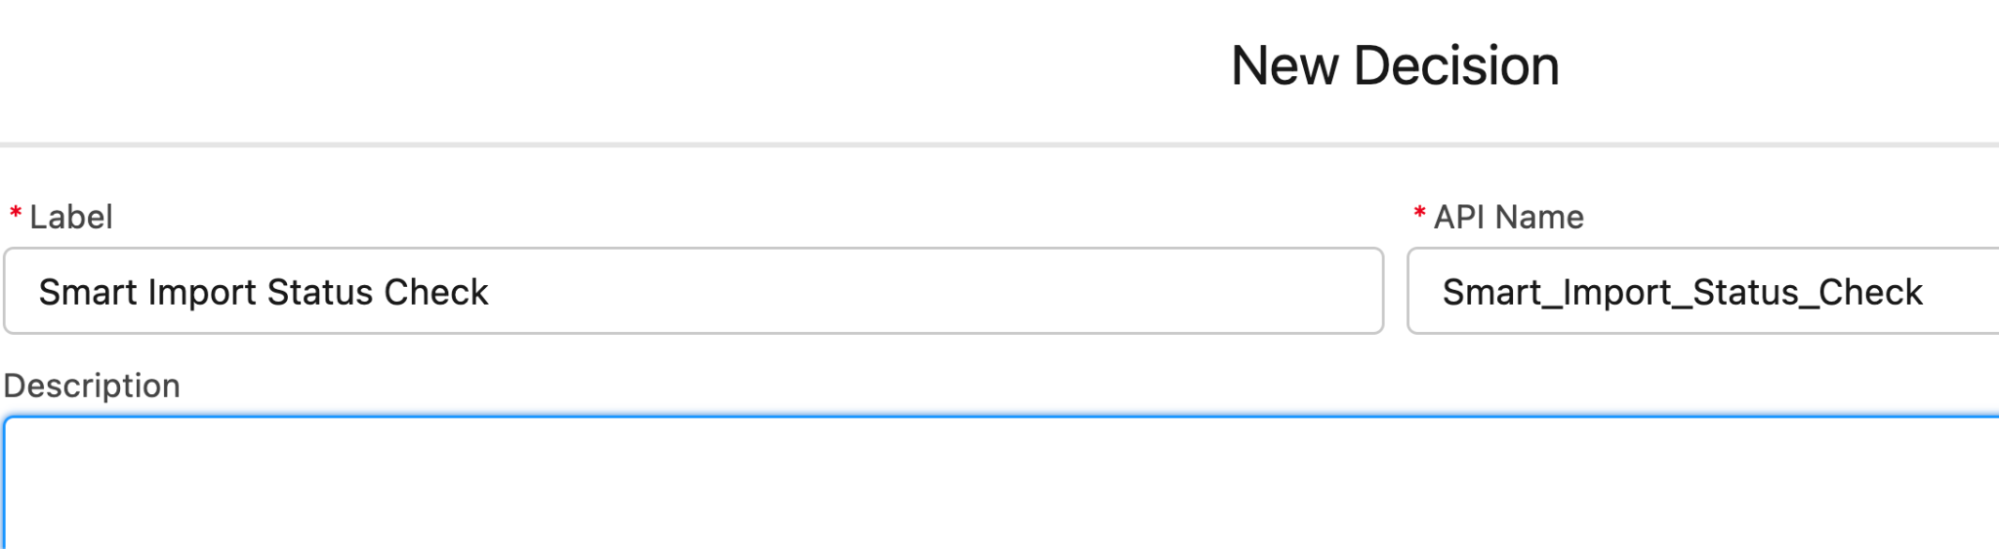
- Add a Decision element. Enter
Smart Import Status Checkas the label.
- For outcome, enter
Successas the label. For the outcome condition, selectsmartImportResponseas the resource,containsas the operator, and200as the value.
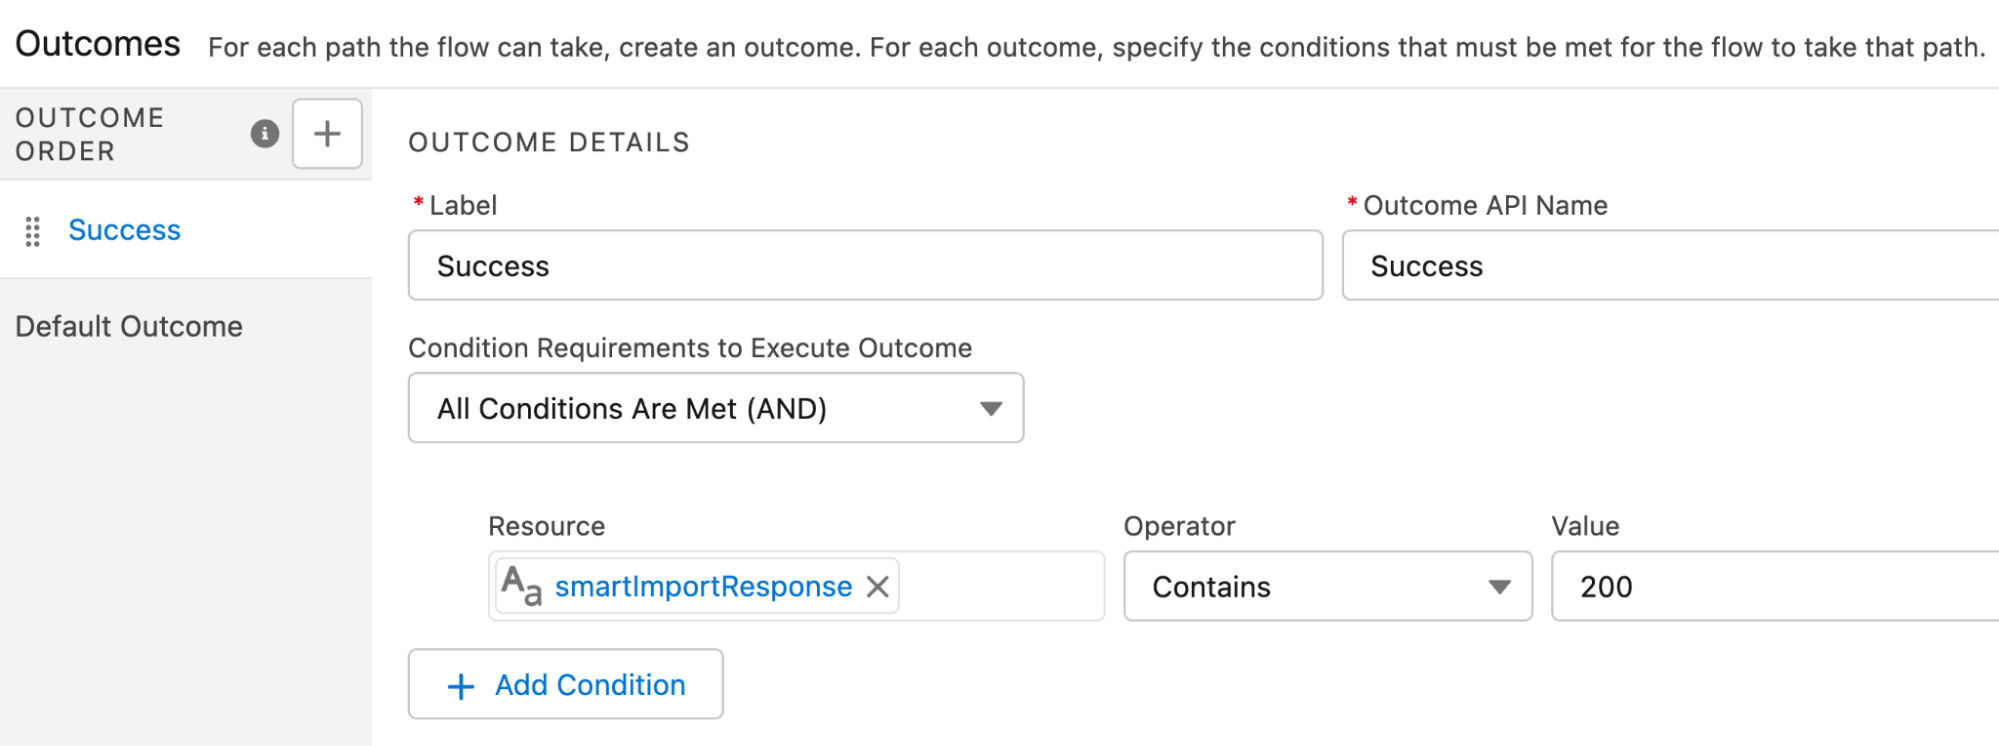
- Click Done.
Add Flow Step (Success Status Screen)
- Under the Success branch of your decision element, add a Screen element. Enter
Smart Import Status (Success)as the Label. - Under the Configure Header section, uncheck the
Show Headercheckbox. - Update the Configure Footer section. Hide the
Previousbutton and thePausebutton. For theNext or Finishbutton, selectUse the standard label. - Add a Display Text component. Enter
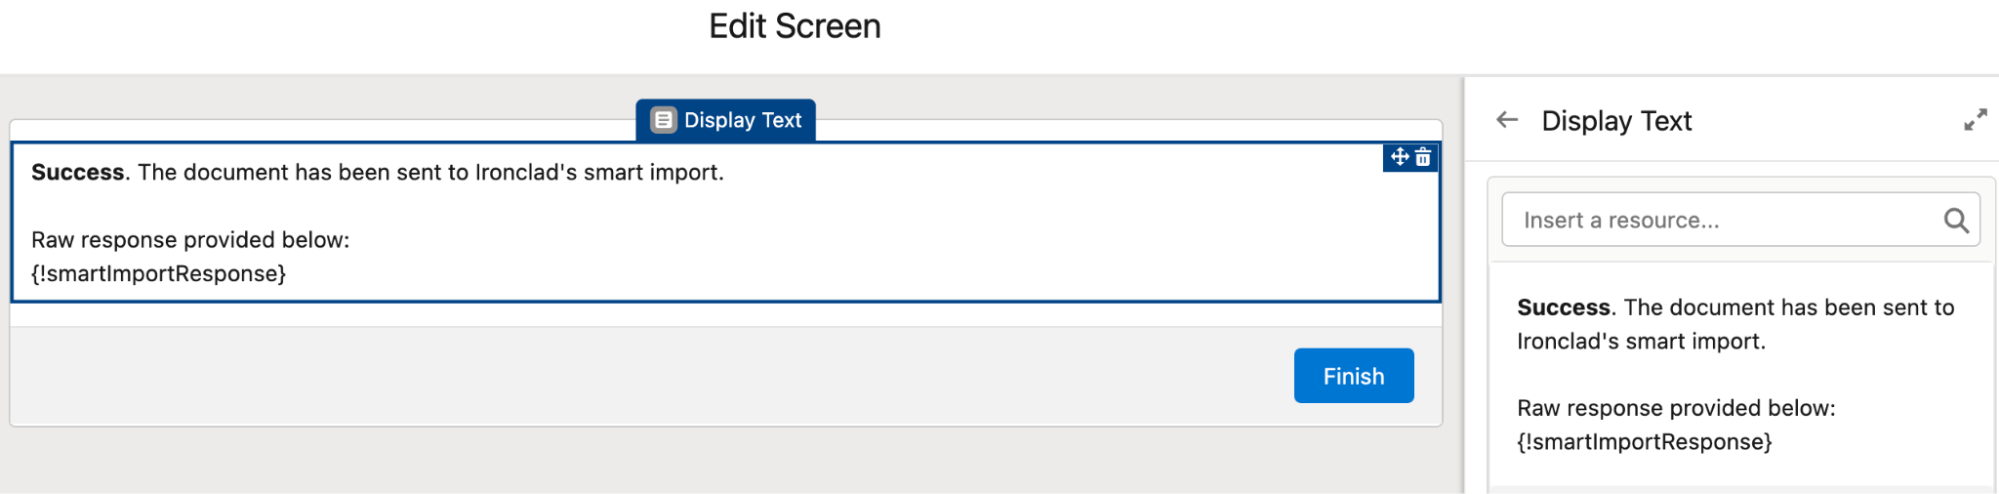
Smart_Import_Response_Successas the API Name. Copy/paste the instructions below into its text.
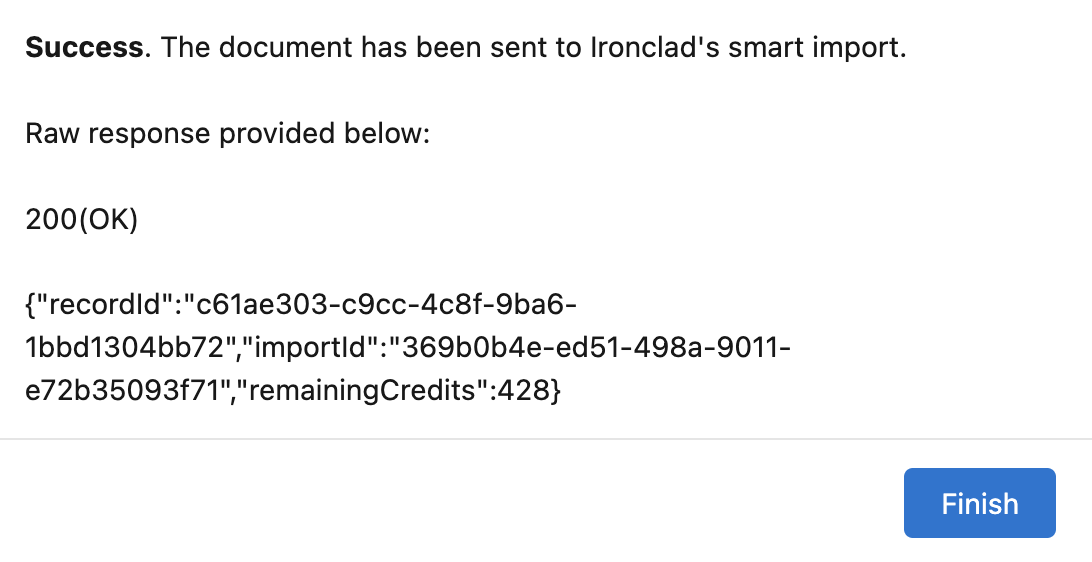
Success. The document has been sent to Ironclad's Smart Import. Raw response provided below:
{!smartImportResponse}
- Click Done to save the element.
Add Flow Step (Error Status Screen)
- Under the Error branch of your decision element, add a Screen element. Enter
Smart Import Status (Error)as the Label. - Under the Configure Header section, uncheck the
Show Headercheckbox. - Update the Configure Footer section. Hide the
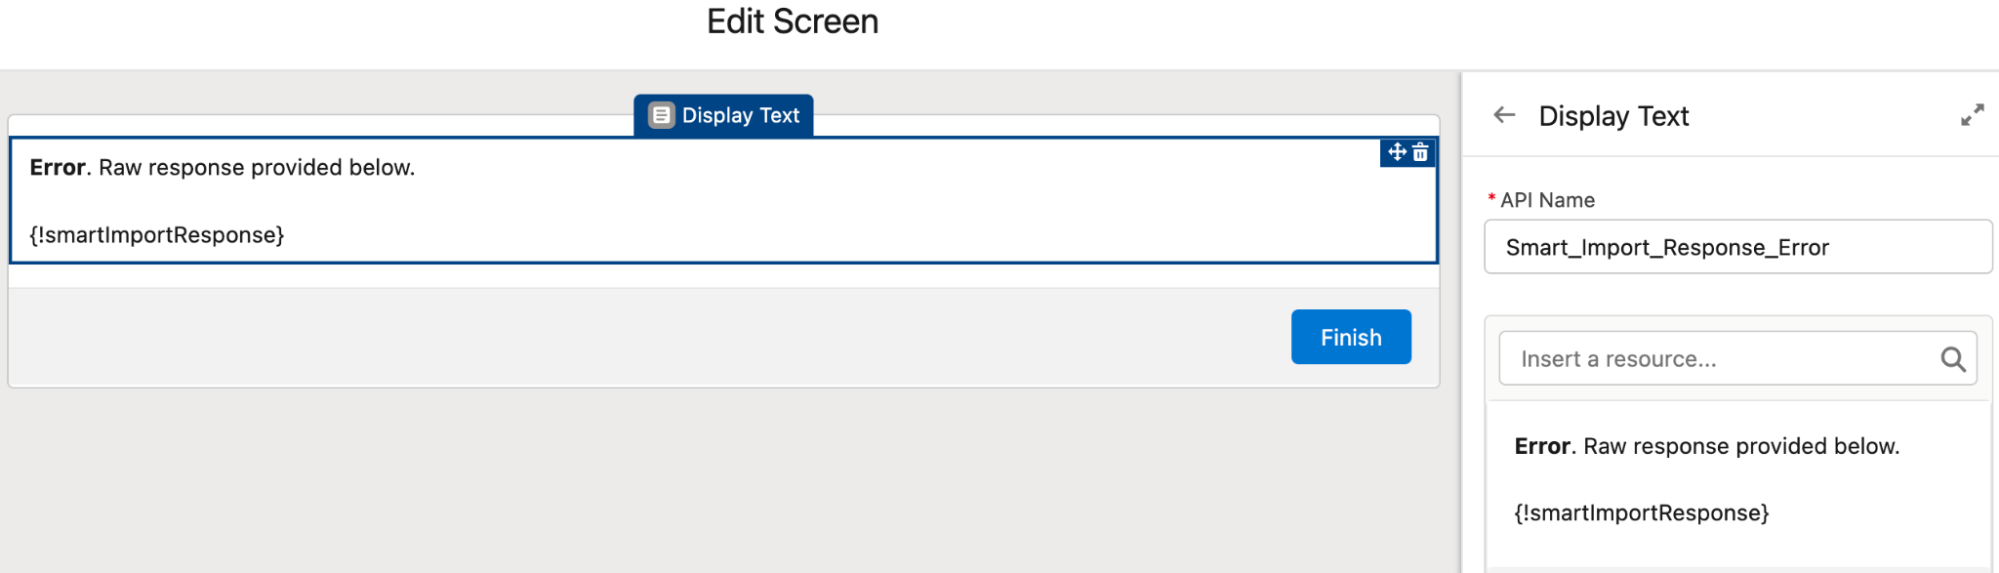
Previousbutton and thePausebutton. For theNext or Finishbutton, selectUse the standard label. - Add a Display Text component. Enter
Smart_Import_Response_Erroras the API Name. Copy/paste the instructions below into its text.
Error. Raw response provided below.
{!smartImportResponse}
- Click Done to save the element.
Activate Flow
Finally, we will activate our Salesforce flow.
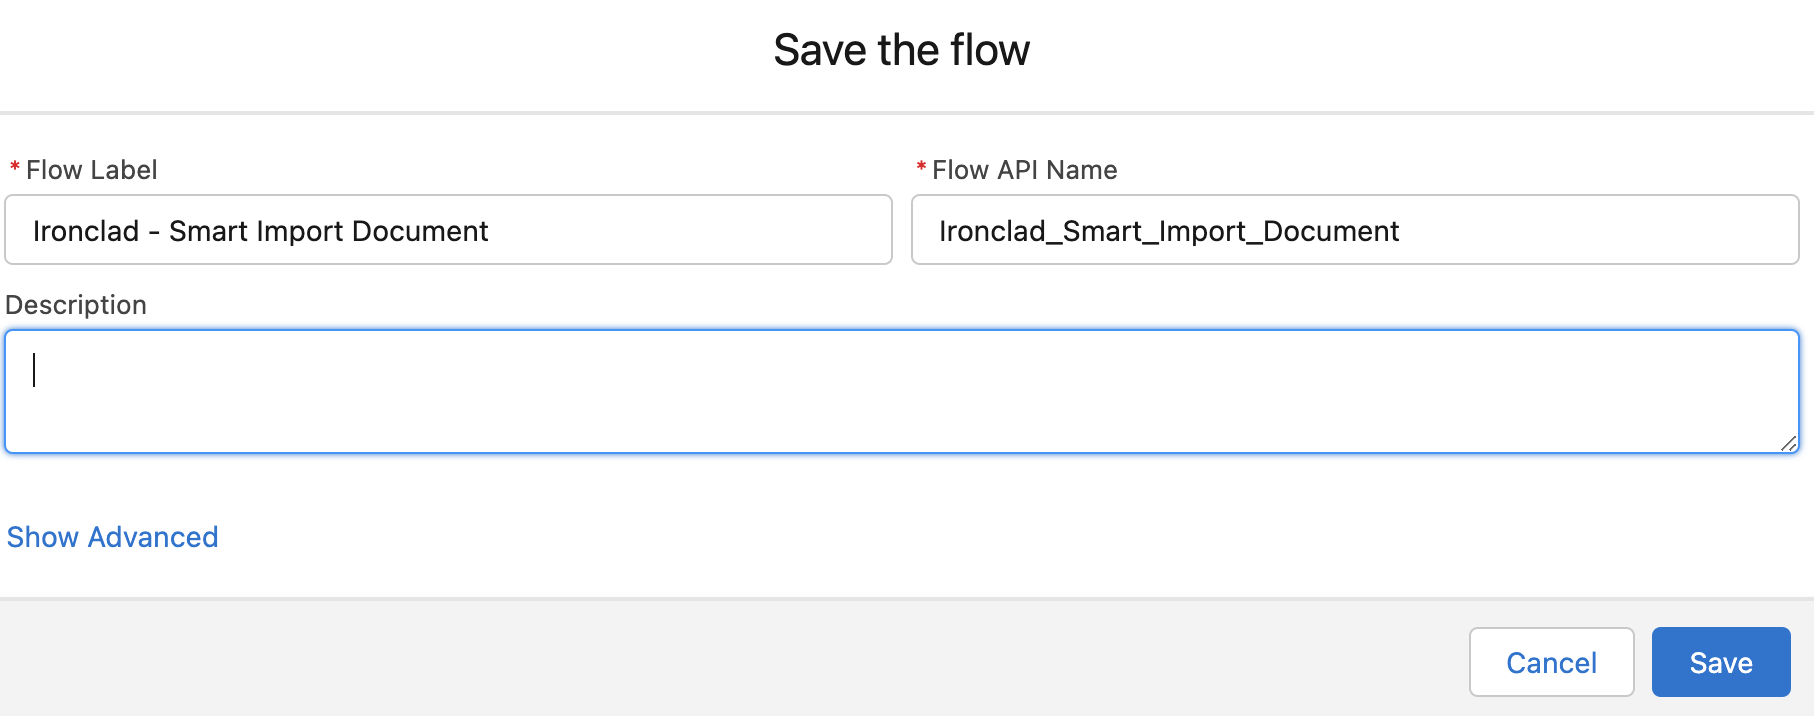
- Click Save to save the flow. If you are saving for the first time, enter a flow label such as
Ironclad - Smart Import Document. Click Save.
- Click Activate to make the flow available for use.

Add Flow to File Lightning Page Layout
We will add the Salesforce screen flow to the Salesforce File lightning page so users can trigger the Smart Import when viewing a file.
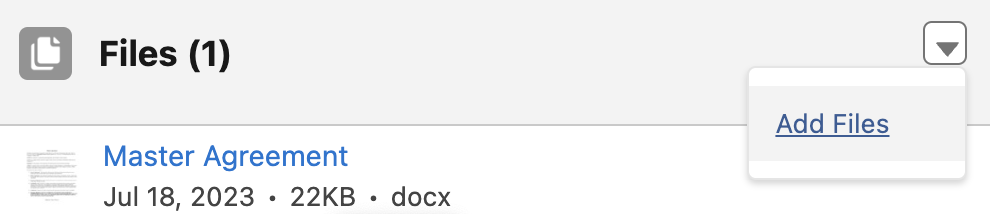
- If you do not have a sample Salesforce File, upload a dummy file to a record.
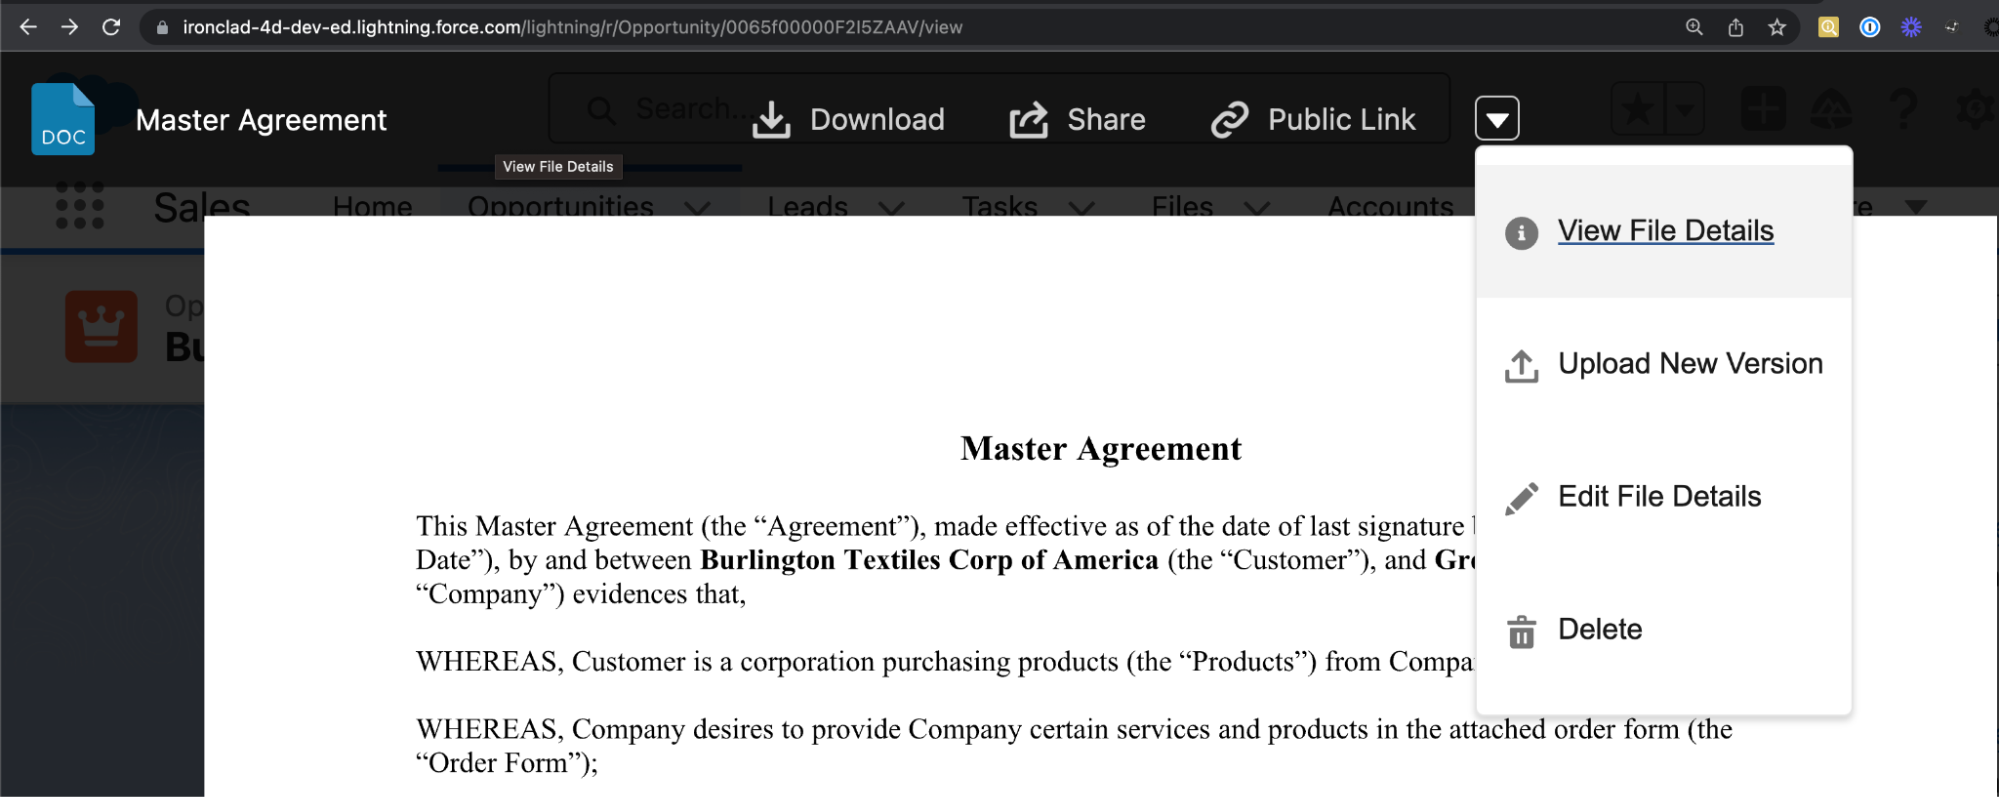
- Open the file by clicking on the File Link → View File Details.
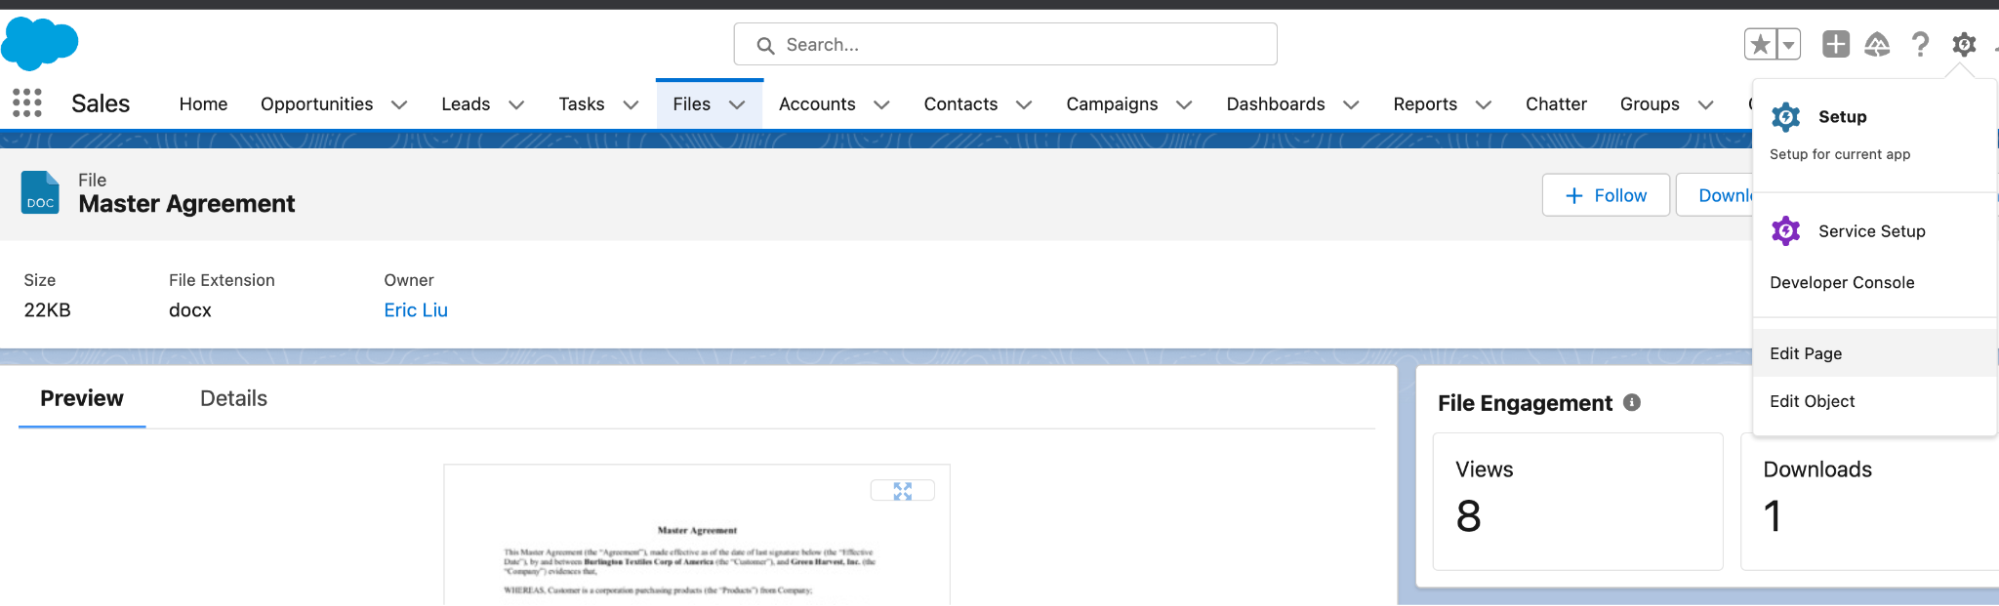
- Edit the lightning page by clicking Setup > Edit Page.
- Drag a flow component onto the page. Select your Smart Import Document flow.
- For recordId, check the
Pass record ID into this variablecheckbox.
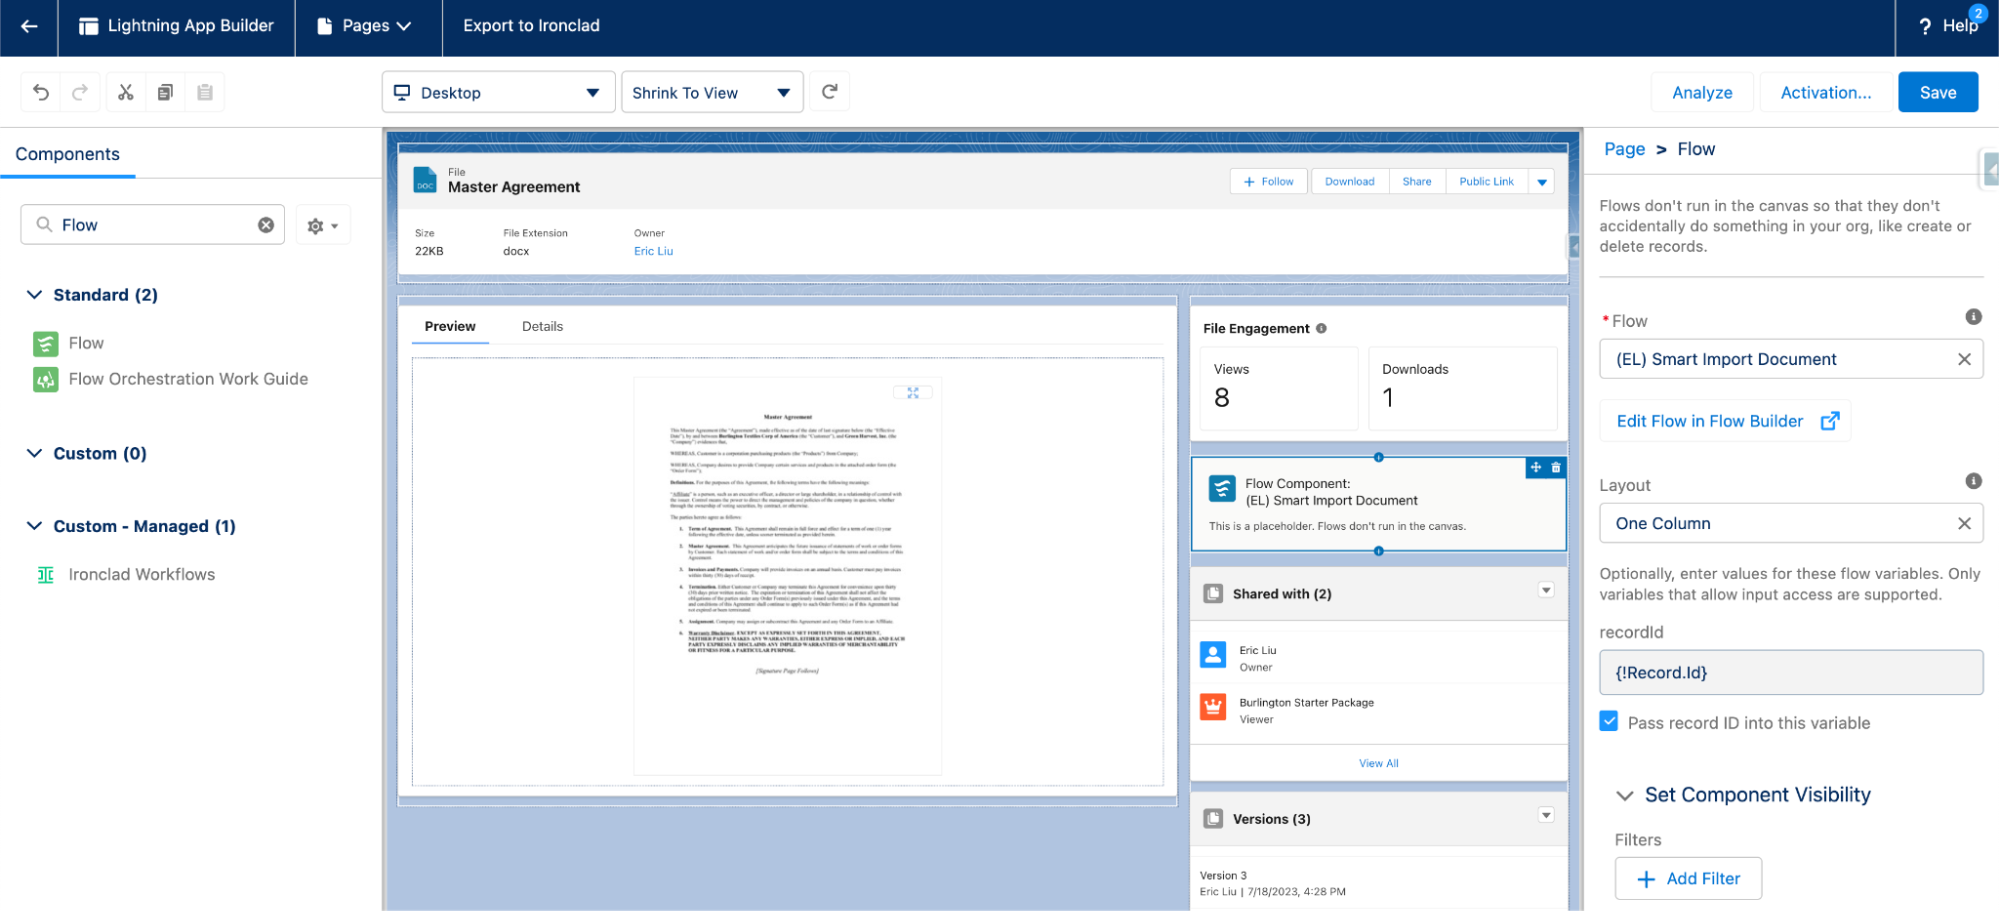
- Click Save.
- Click Activation and ensure the page is activated for your users. If your Salesforce organization has customized permissions, you may need to adjust them to ensure the relevant users can see the flow component.
- Congratulations! Your users can now Smart Import Salesforce files into Ironclad.
See It in Action
On any Salesforce file, users can now see an Export button and click it to Smart Import the latest version of the file into Ironclad.
If the import succeeds, users should see a response similar to the figure below. The response includes the id of the record that was imported, the id of the import batch, and the remaining number of Smart Import credits that remain.
In Ironclad’s repository, we will see a new import batch and our file.
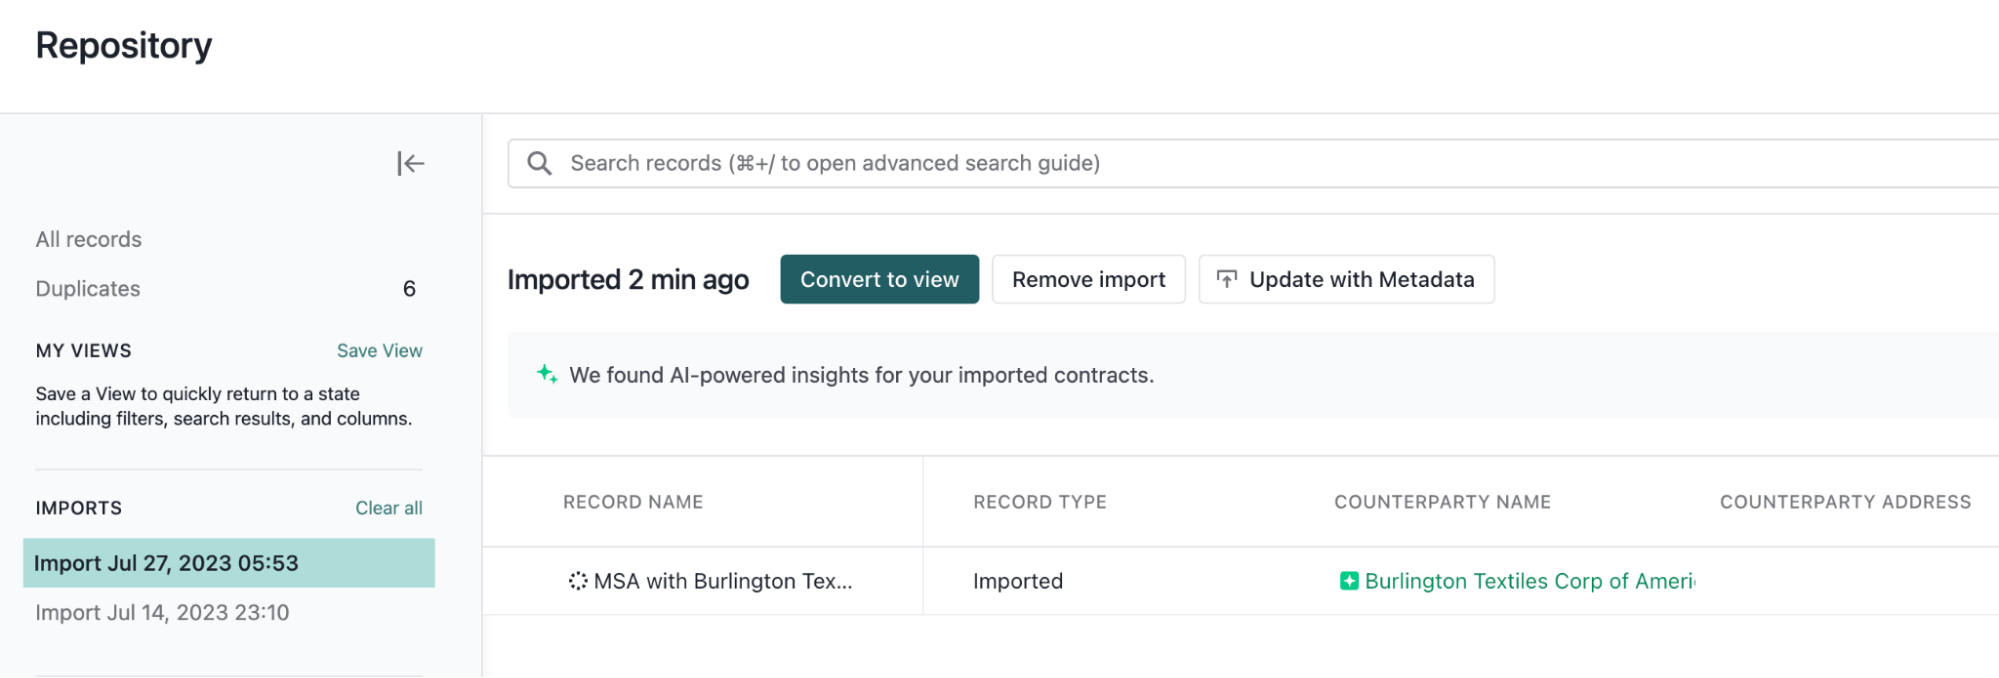
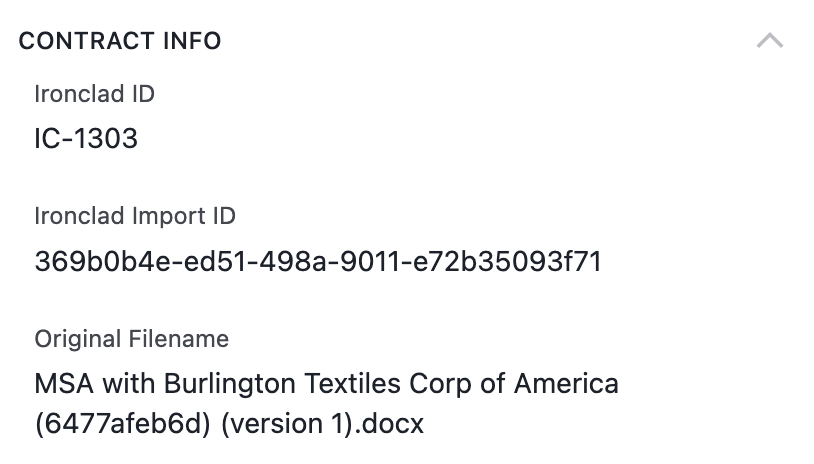
If we want to add more files to this import, we can copy the importId in the Salesforce success response and use it for other files. You can also locate the Import ID later in Ironclad by clicking into the import, clicking into a record, and finding the Import ID in the record’s metadata.
Updated 11 months ago